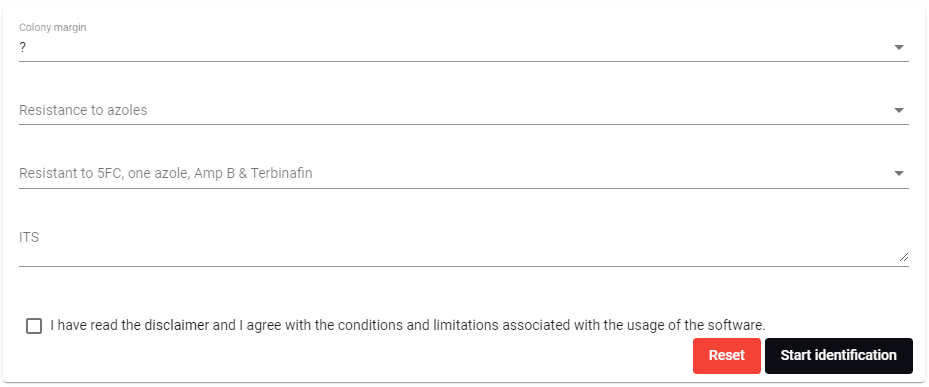
The scenario is used to allow the user to perform an identification:
The
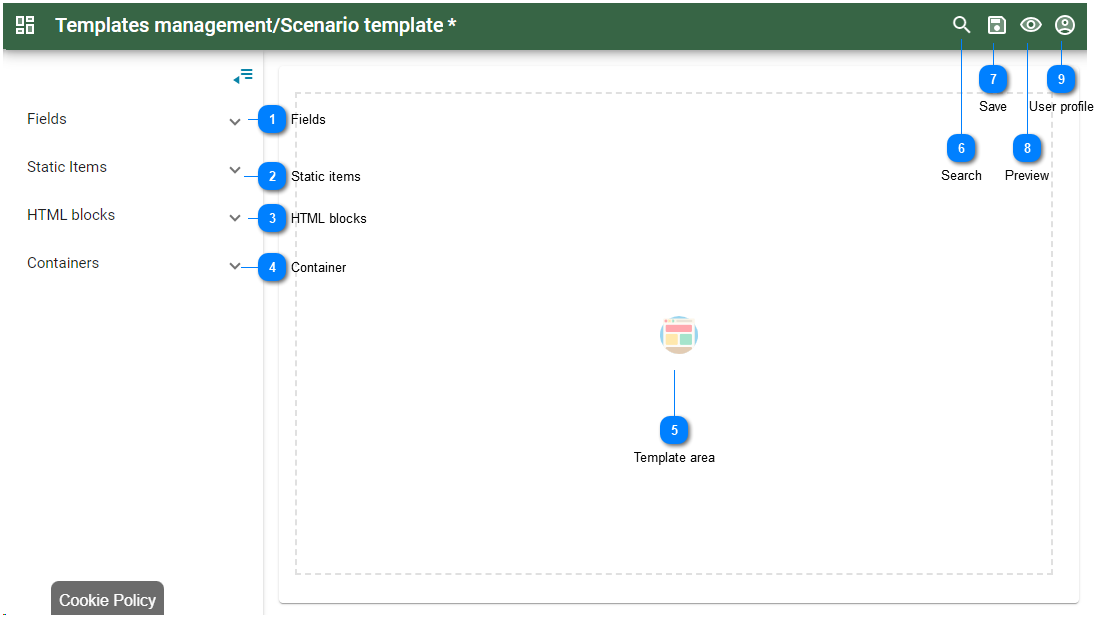
designer section of the templates management will be opened when a new scenario template is created or when one needs to be edited.
Items can be placed on the template. Hover the mouse on top of any of the numbers below to see detailed information.
All information for this page can be found above this line. Simply hover the mouse on top of any of the numbers to see the information. Top
 Watch full movie
Scenario template
This movie shows how to:
1. Create a new scenario template (0:05)
2. Drag the wanted fields onto the template (0:22)
3. Set the wanted settings in the properties section (0:28)
|
|
 Fields
List of all fields in the selected table of selected database. Rights are respected.
|
|
 Static items
|
|
 HTML blocks
Default HTML blocks provided, to be dragged onto the template.
Available blocks are: cards, citations, contact, footers, gallery, header, pricing, product, publications, sliders, team.
|
|
 Container
Default containers provided, to be dragged onto the template.
|
|
 Template area
Area where the fields, static items and containers can be dragged onto.
|
|
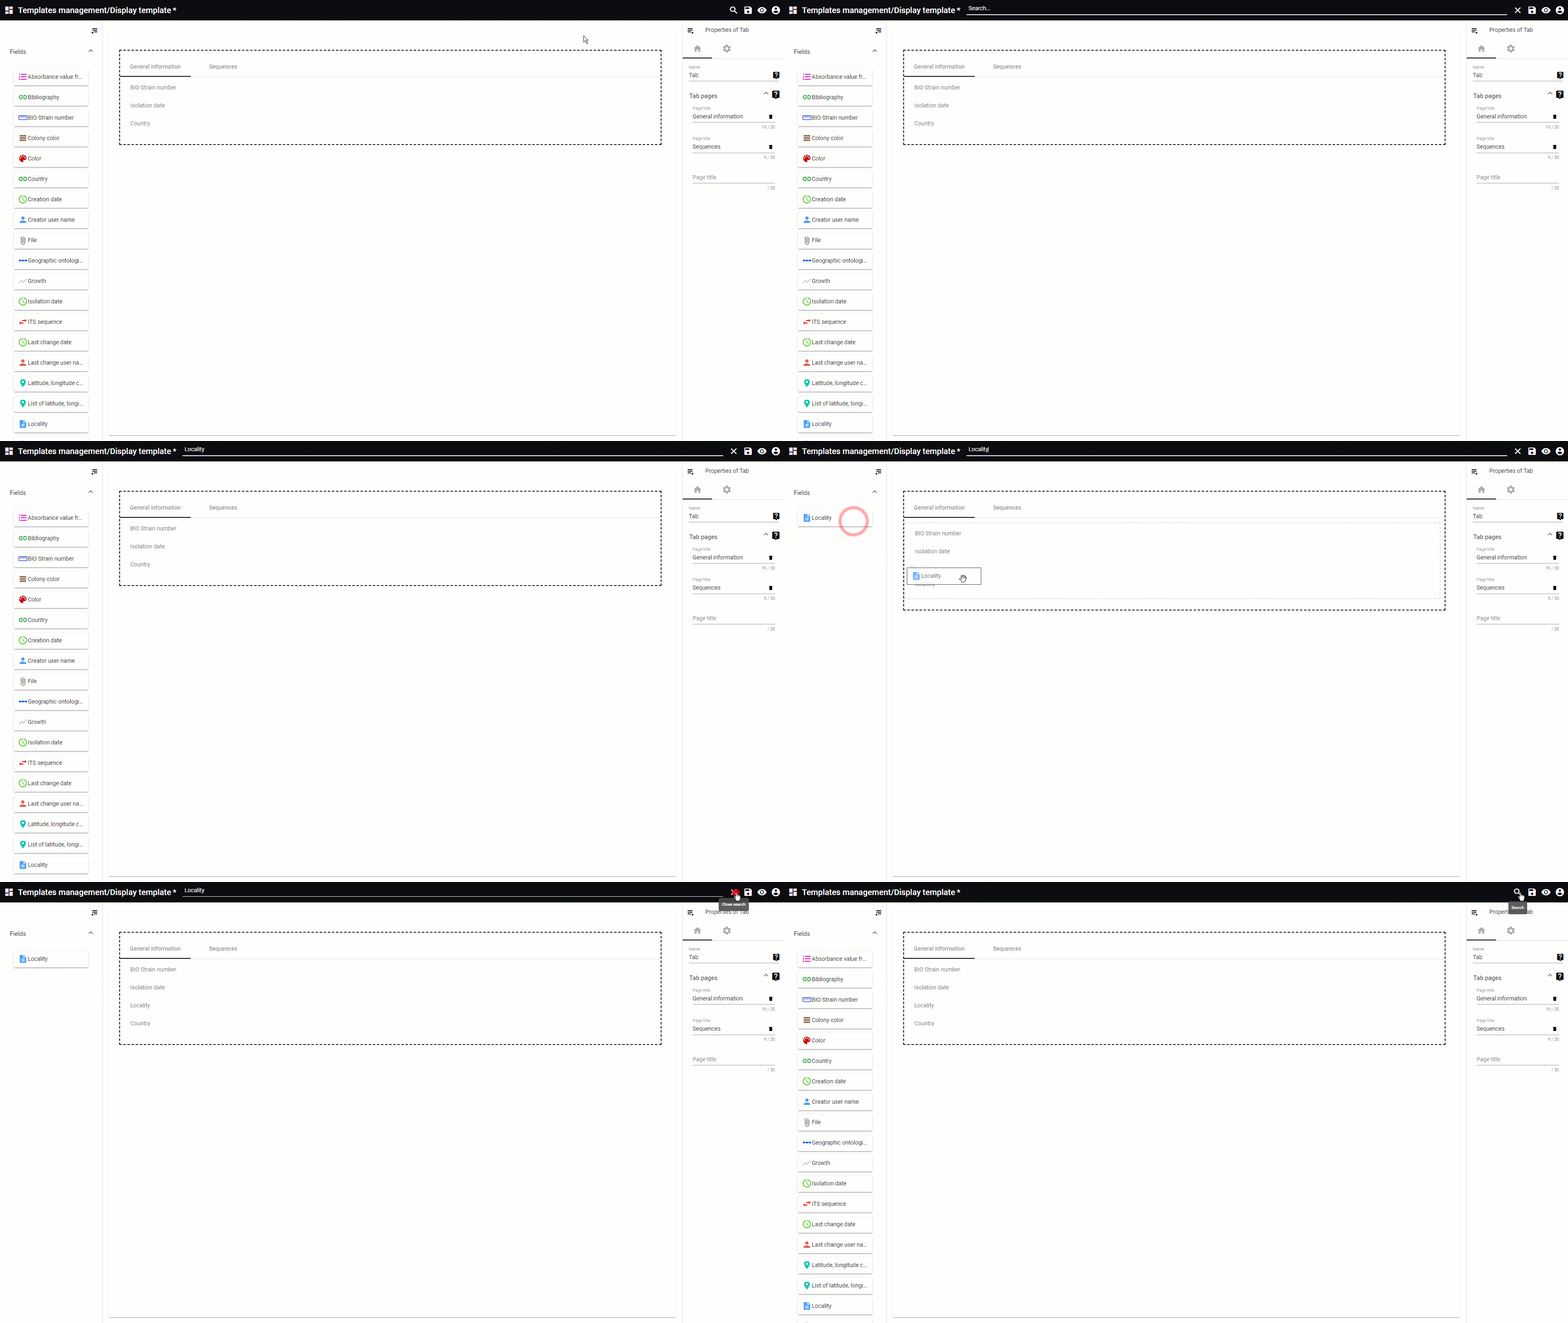
 Search
 for a given field or item. Click on the X icon to display the full list of fields and items again.
This movie is based on a display template however the same applies to the scenario template.
|
|
 Save
Save all changes made to the current template.
|
|
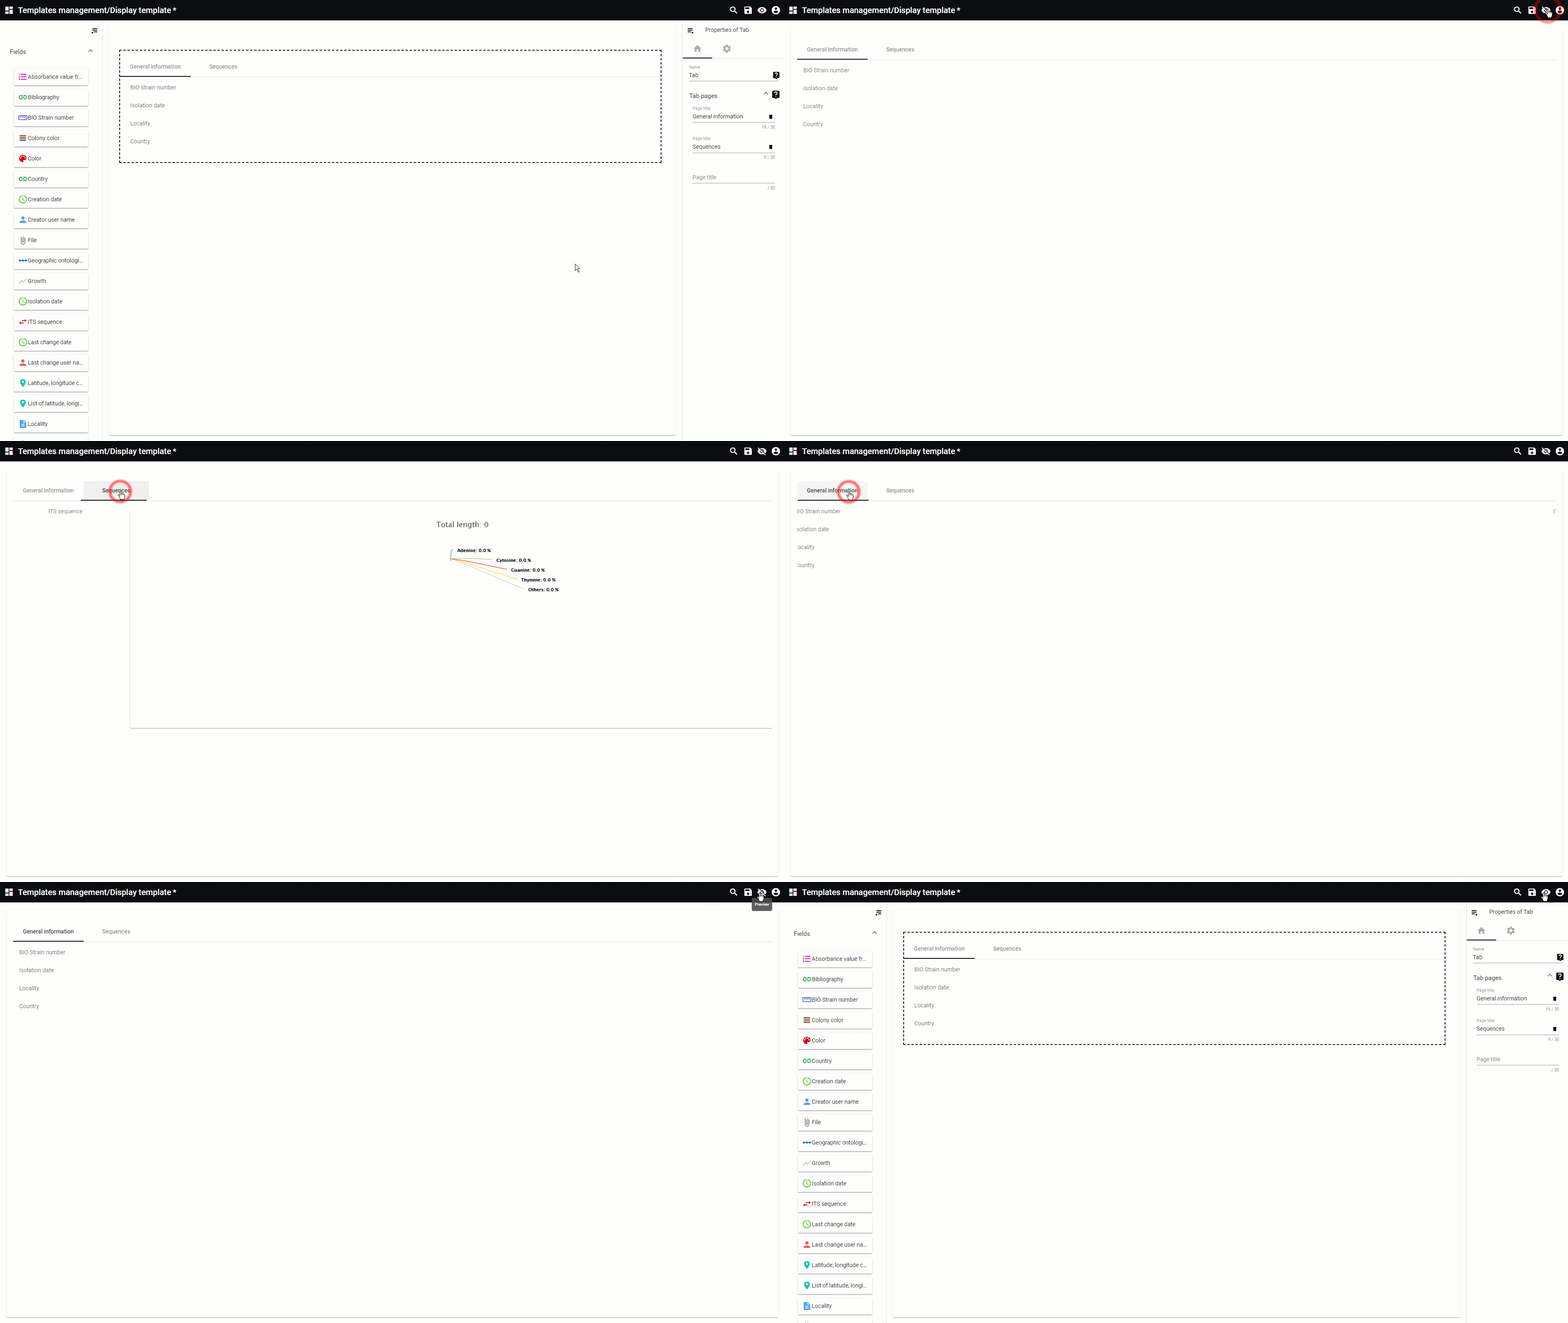
 Preview
Go to the preview to see how the current form looks in the end.
Click on the close icon  to go back to the designer window.
This movie is based on a display template however the same applies to the scenario template.
|
|
 User profile
Select from:
-
Go back to site: Will open the actual website.
-
User profile: Place to update the details of the user. The look is managed by the curator of the website and is explain in sub chapter User profile.
-
Change password: Allows the user to change the password by giving first the current password and then 2 times the new password. 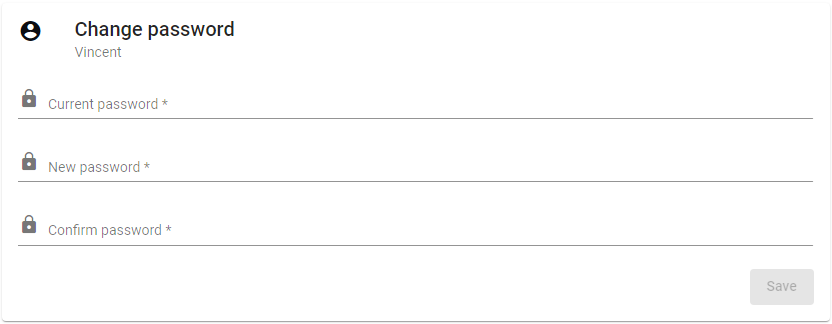
-
Help: The BioloMICS manual will be opened.
-
About: Information about the application, web service and database version.
-
Logout: Log out from the website. The login screen will appear after logging out.
|
|
 Create new
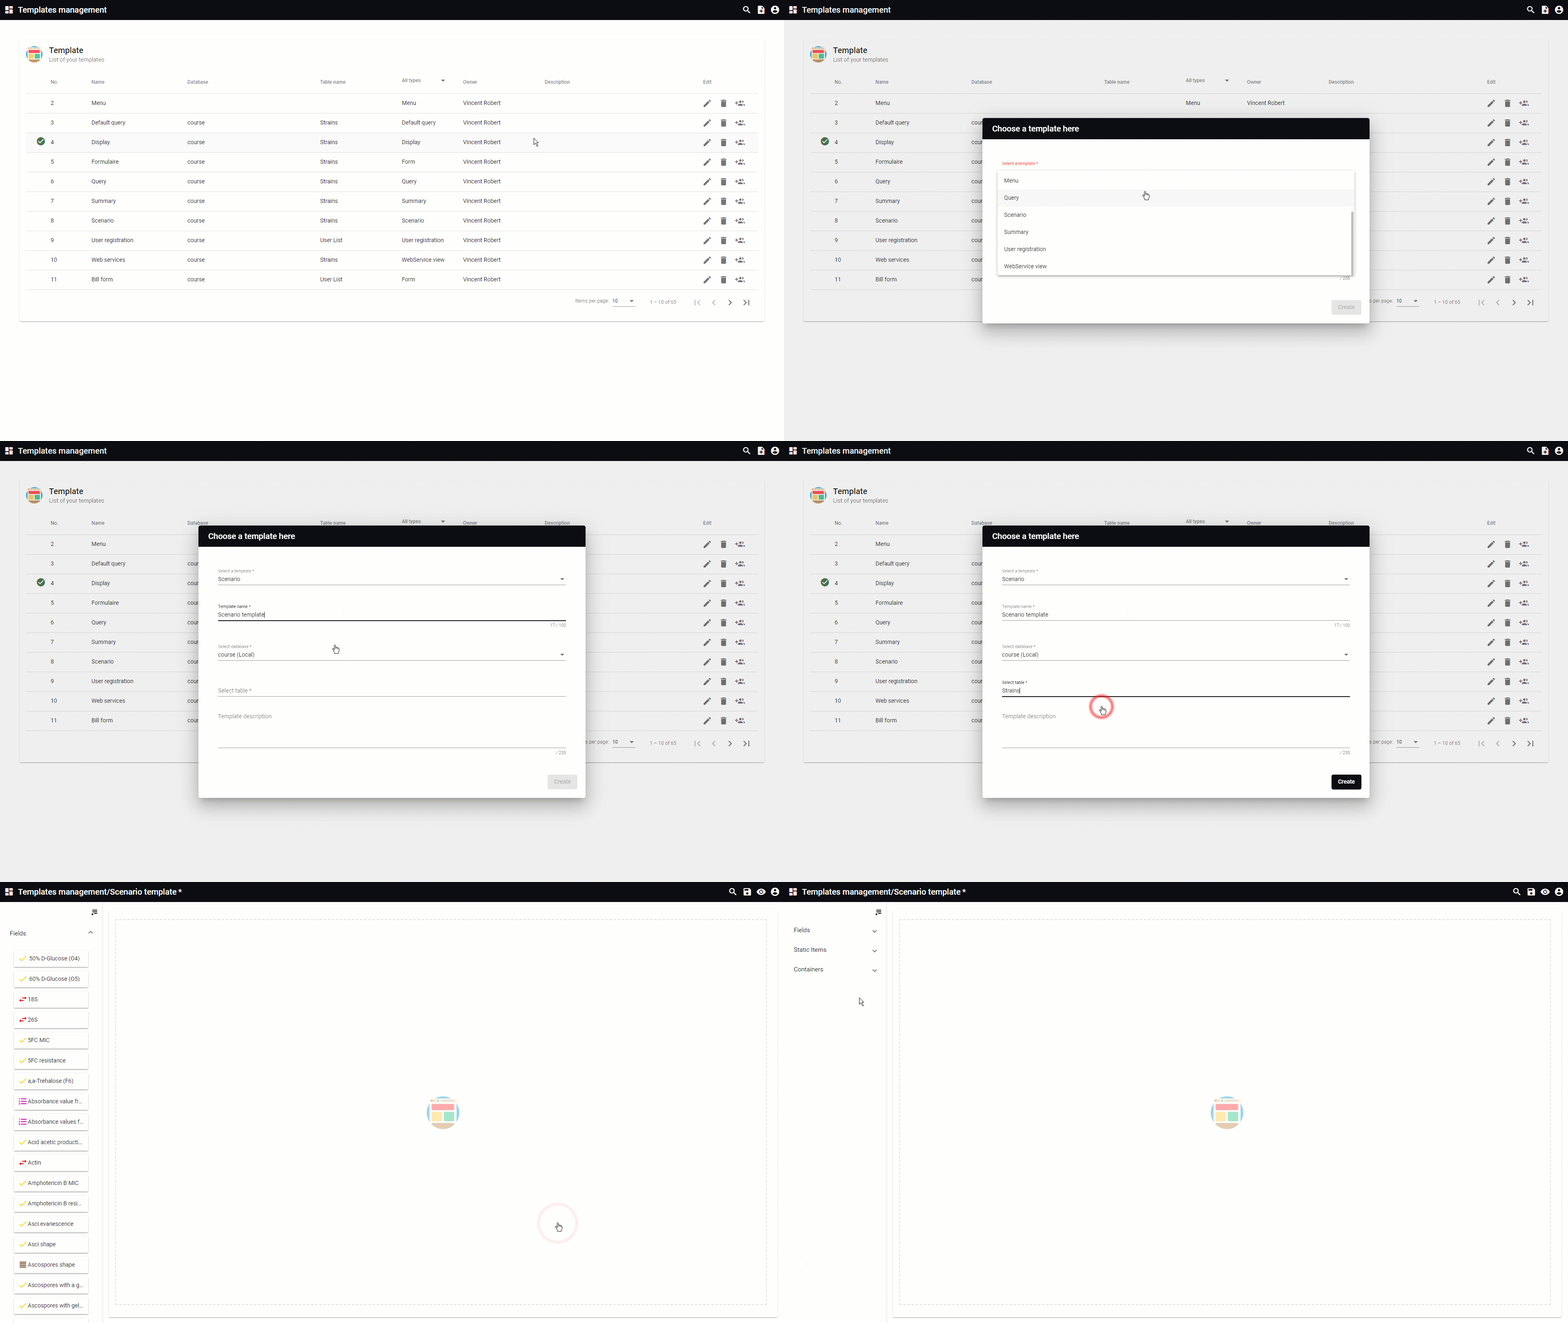
scenarioTo create a new scenario template, go to the template management and click on Add new template.
Provide the requested information:
-
Select scenario as the template type. -
Enter a name for the new template. -
-
Select the table in the database. -
Add a description for this template (optional).
|
|
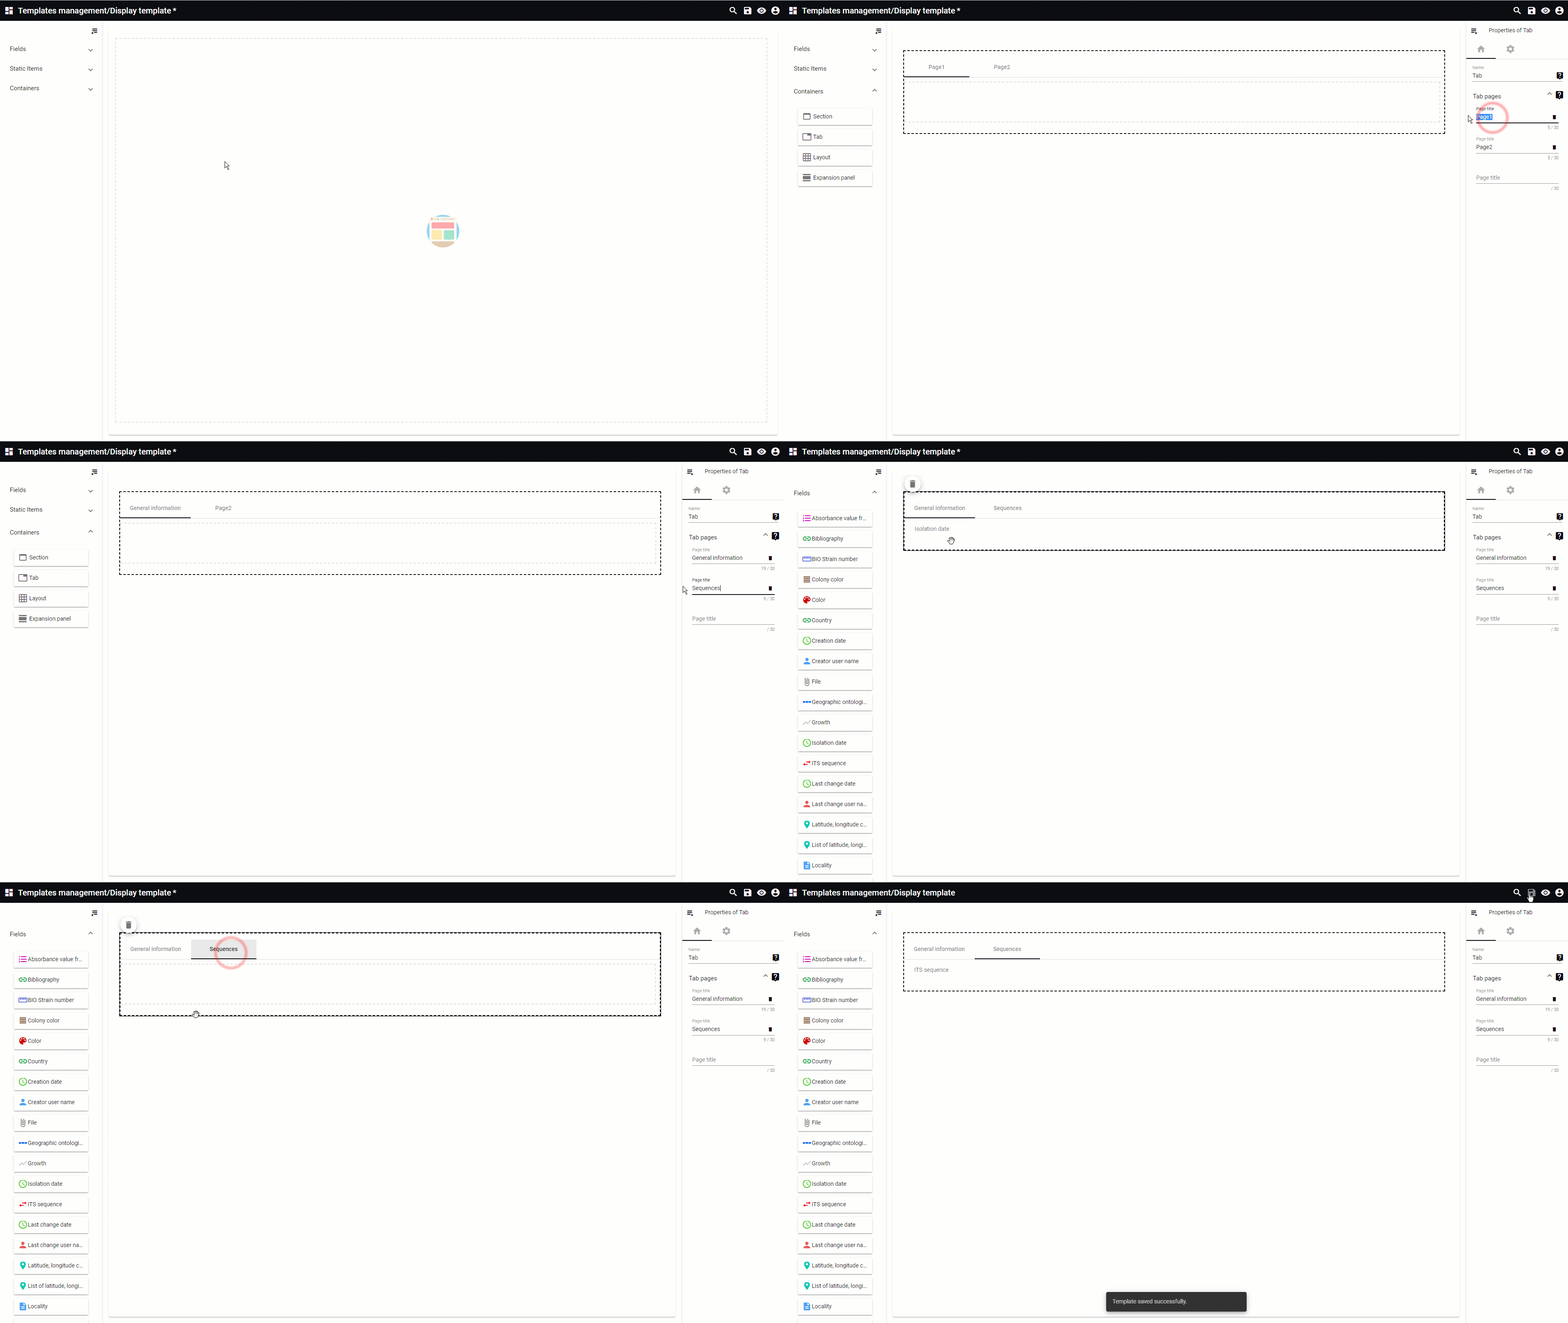
 Add itemTo add an item to the scenario template, take it from the left and drag it to the template area.
This movie is based on a display template however the same applies to the scenario template.
|
|
 Remove item
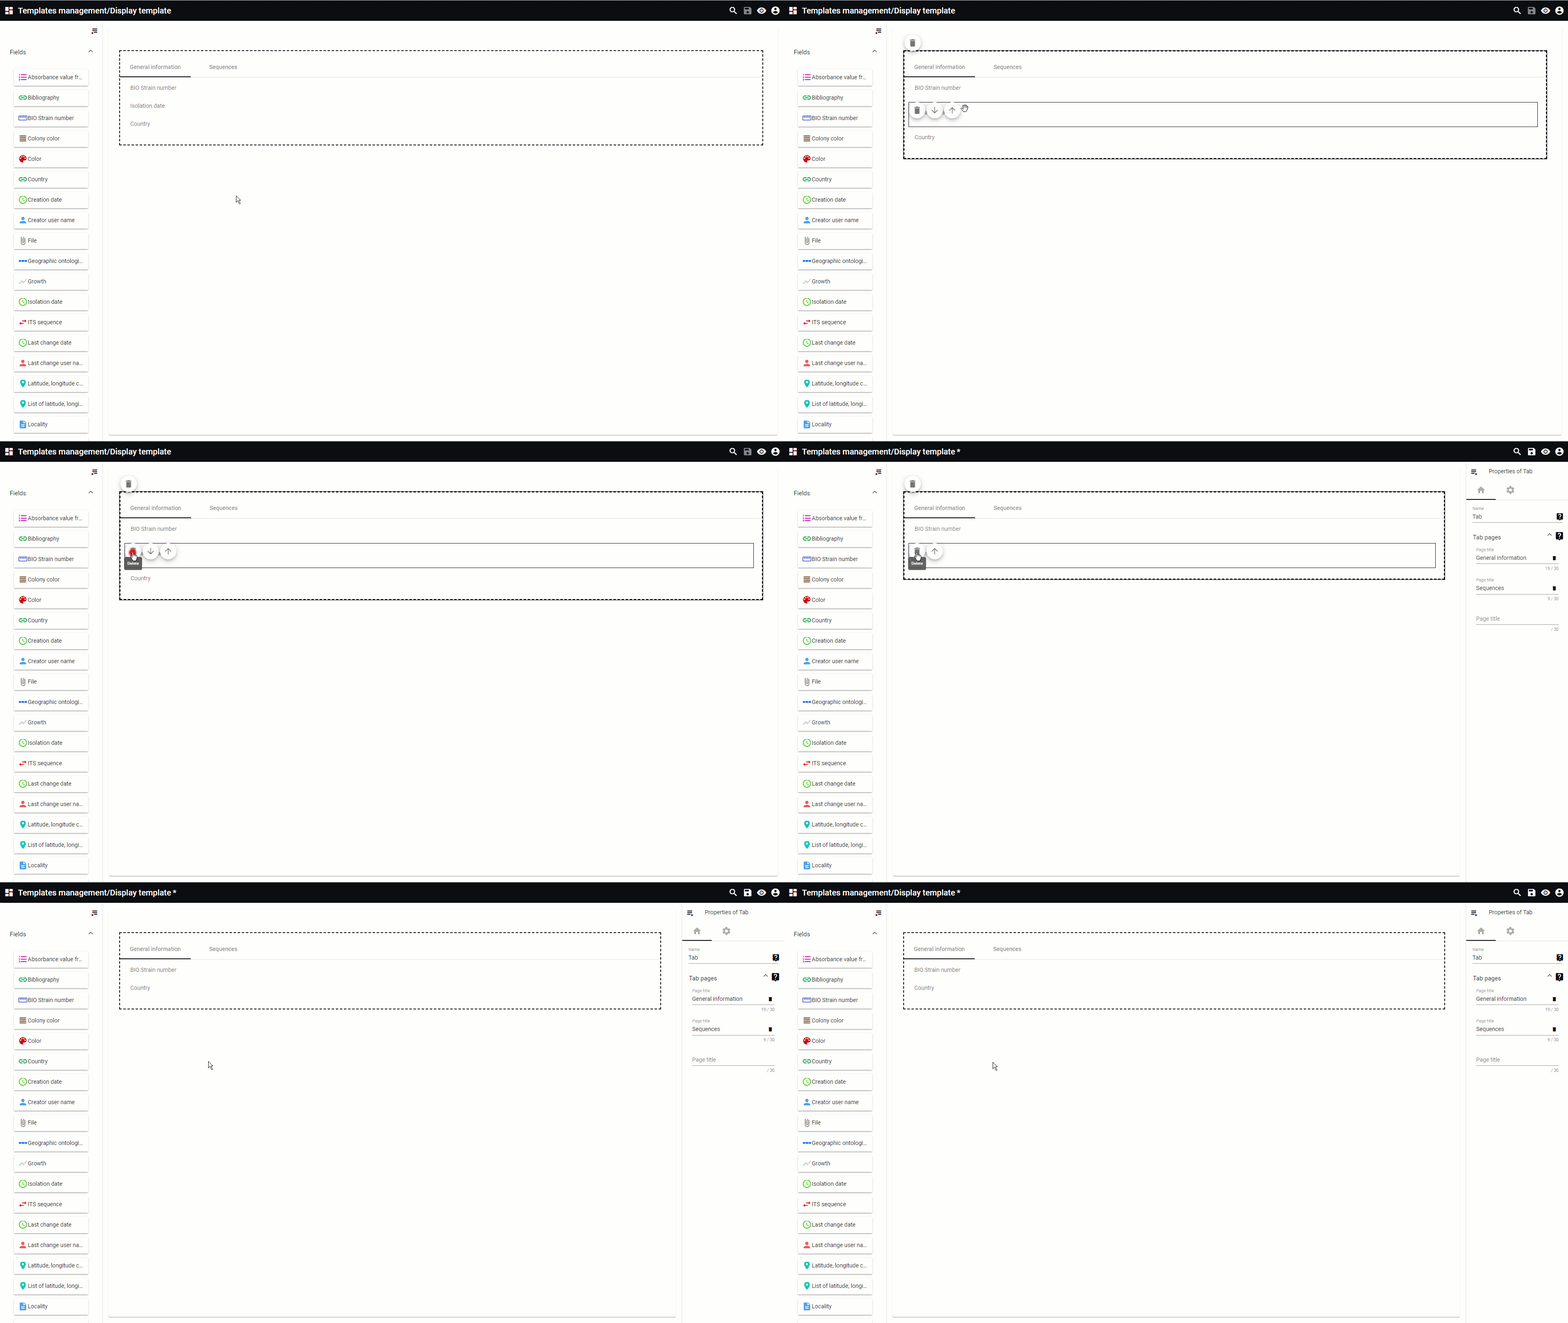
To remove an item from the scenario template, hover the mouse on top of it and click on the bin icon.
This movie is based on a display template however the same applies to the scenario template.
|
|
 Move item
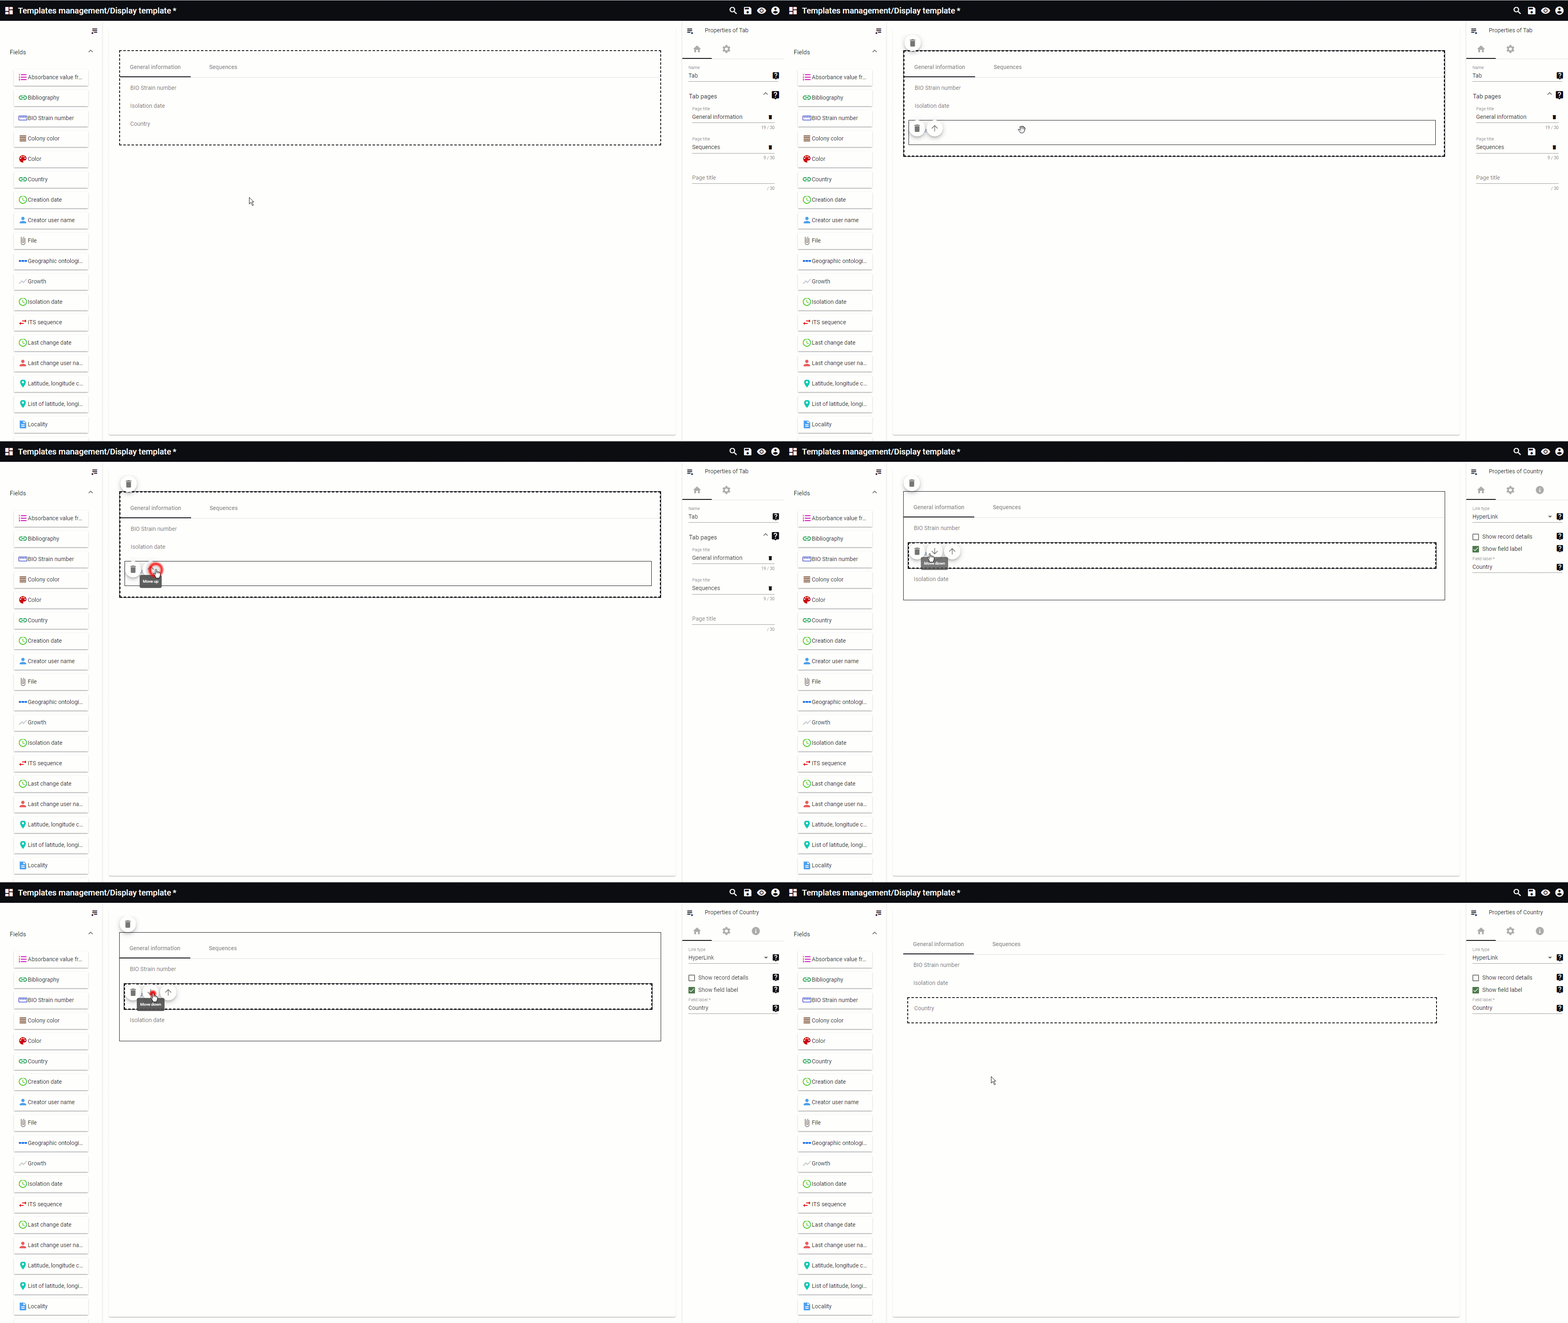
To move an item up or down, hover the mouse on top of it an click on the icons up or down.
This movie is based on a display template however the same applies to the scenario template.
|
|
 Properties
Click on a given field in the template area to see the properties panel on the right. 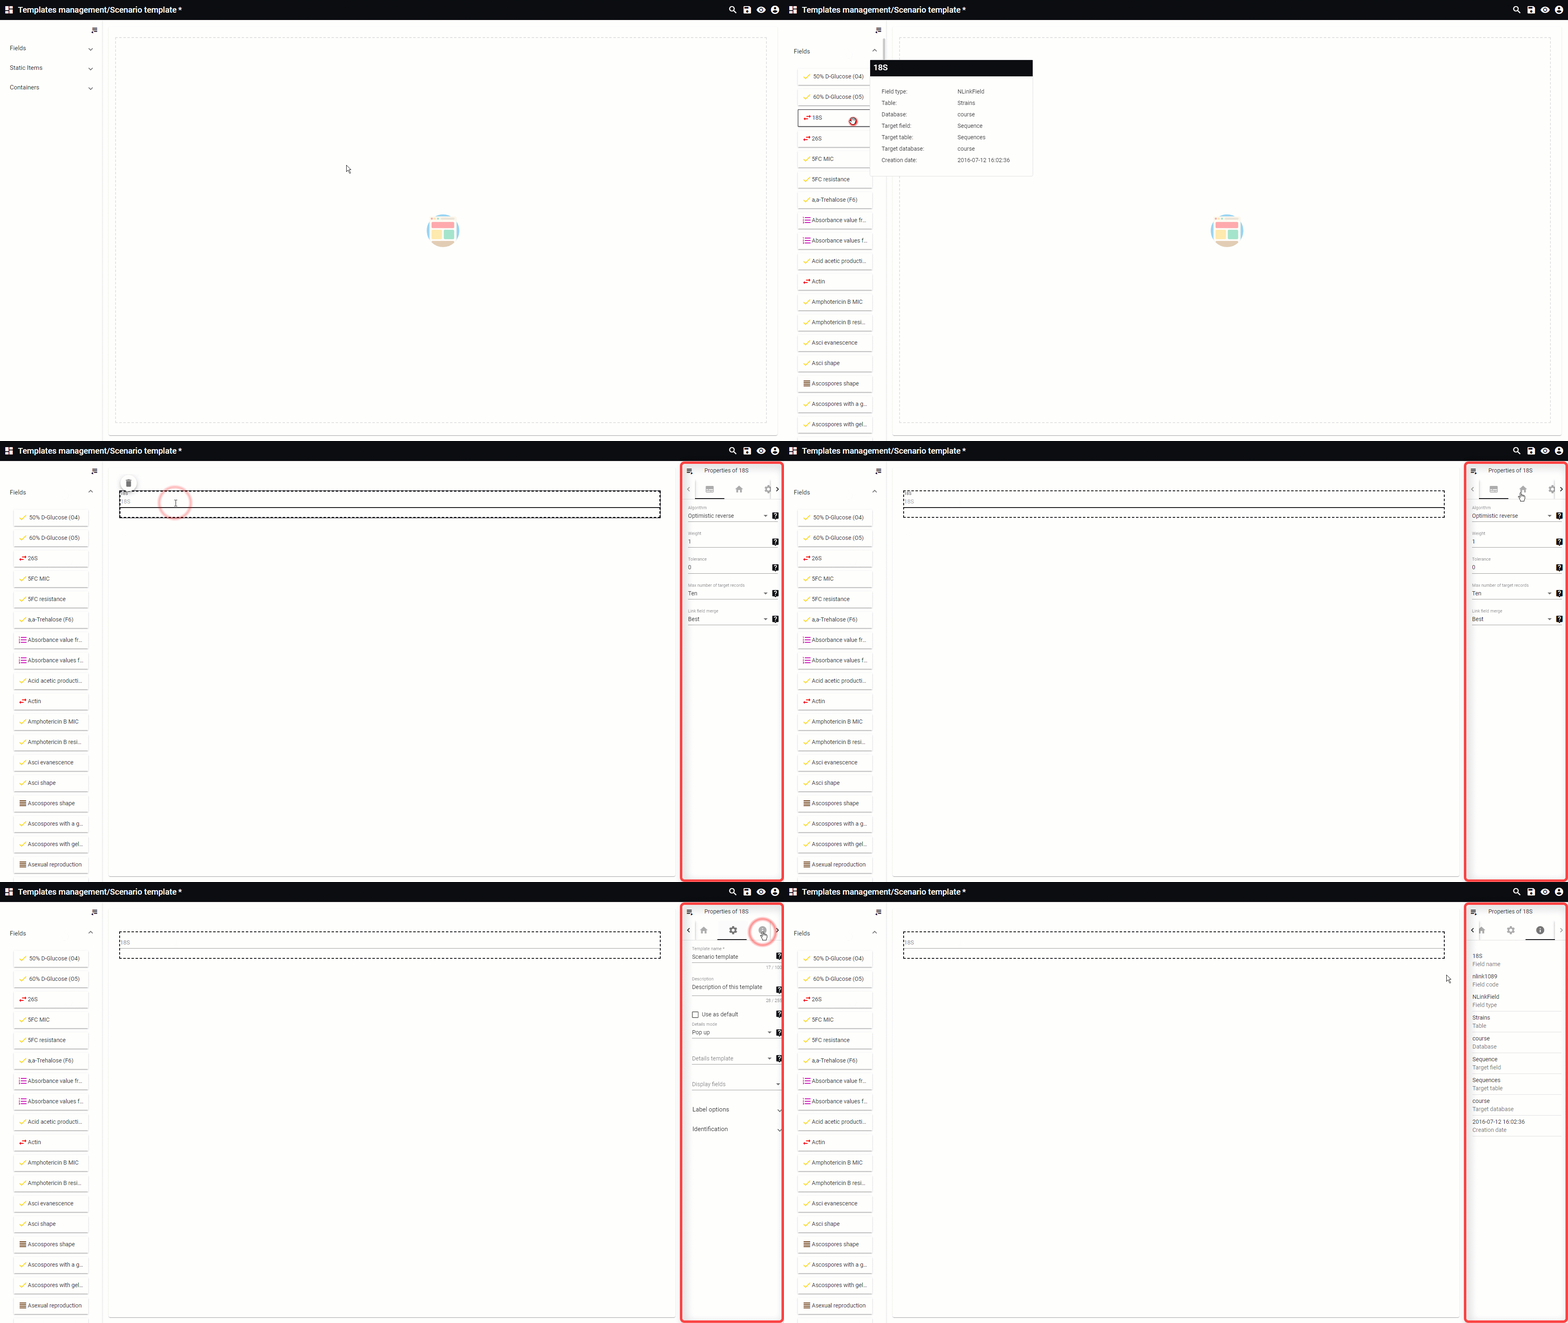 Full size Full size
|
|
