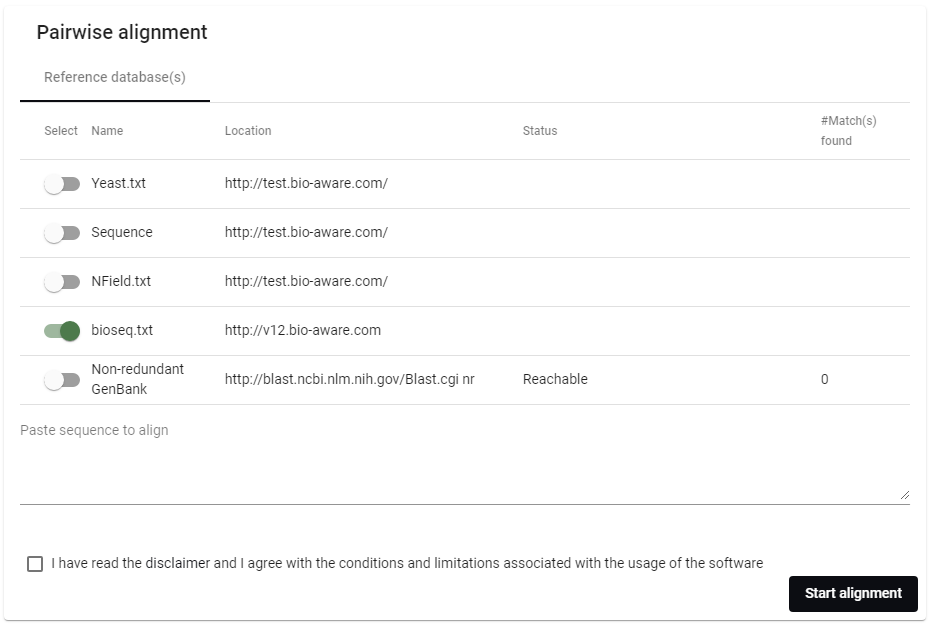
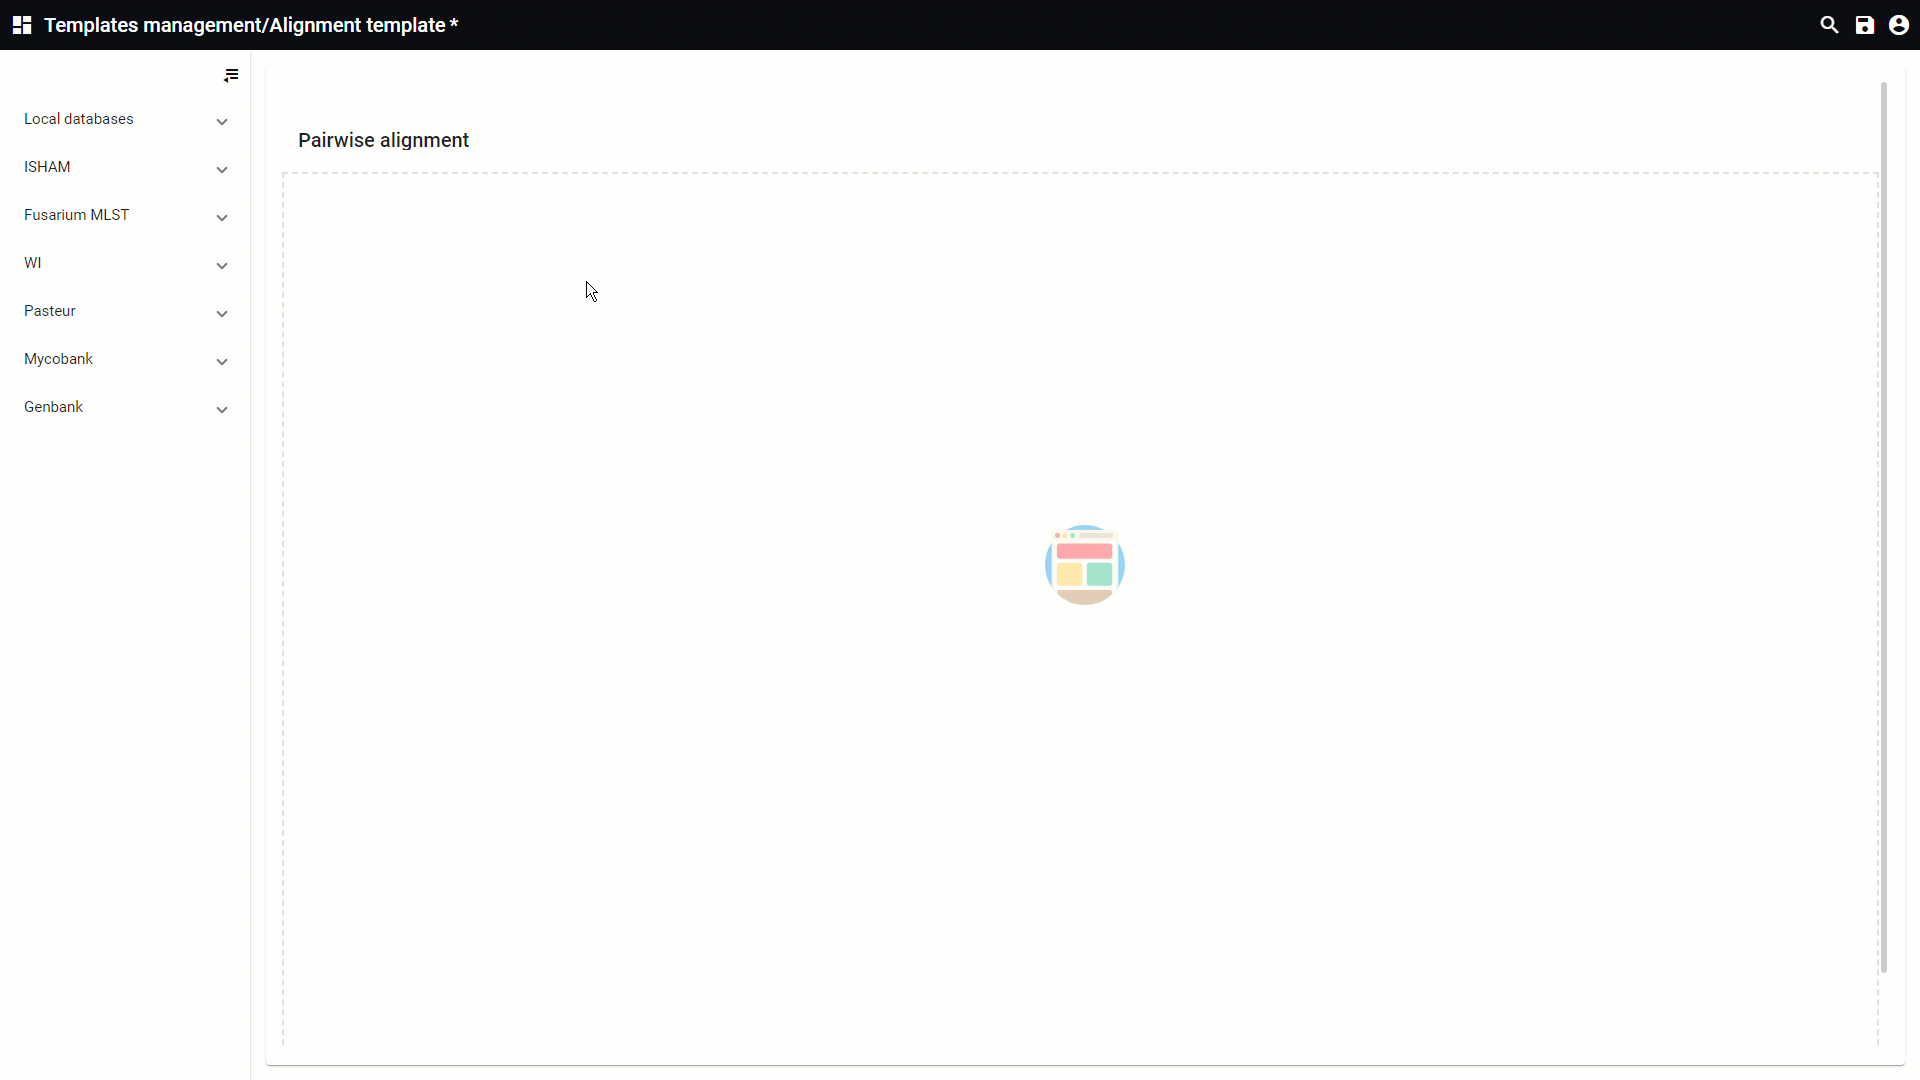
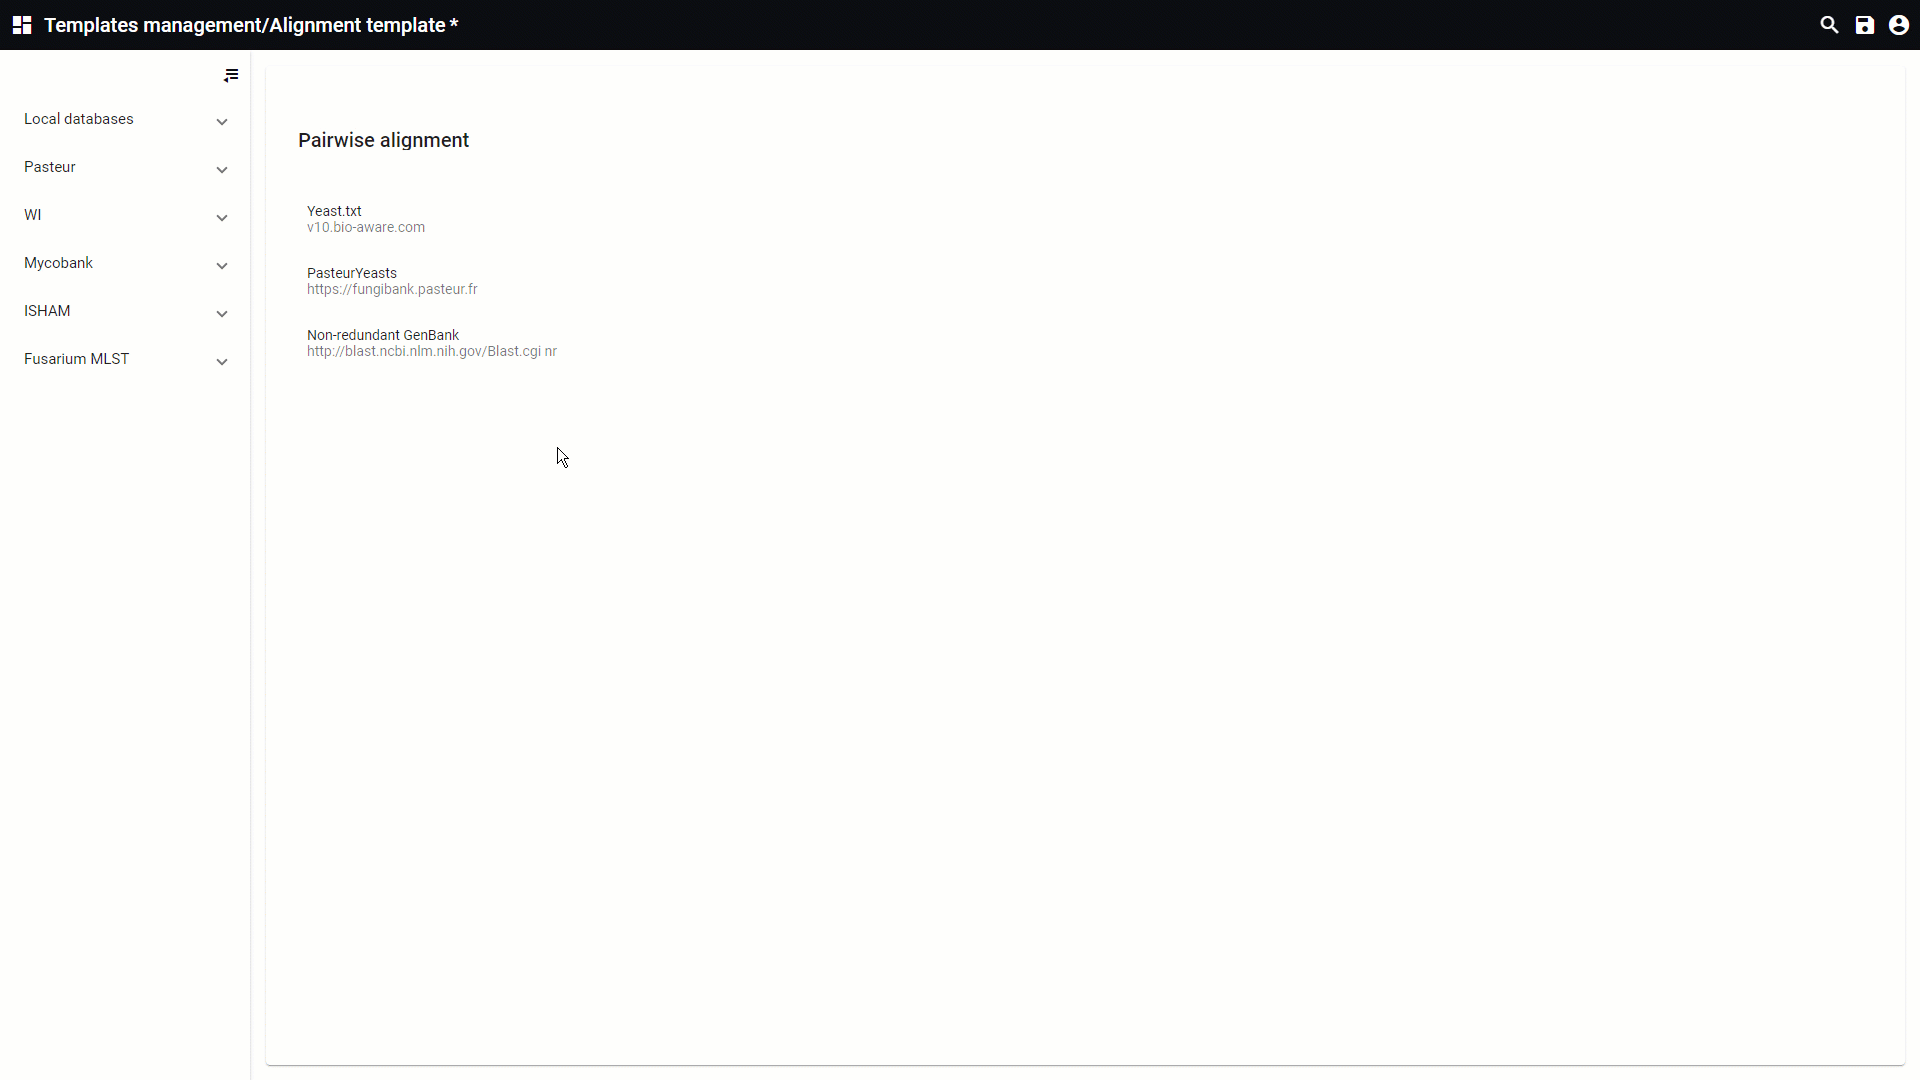
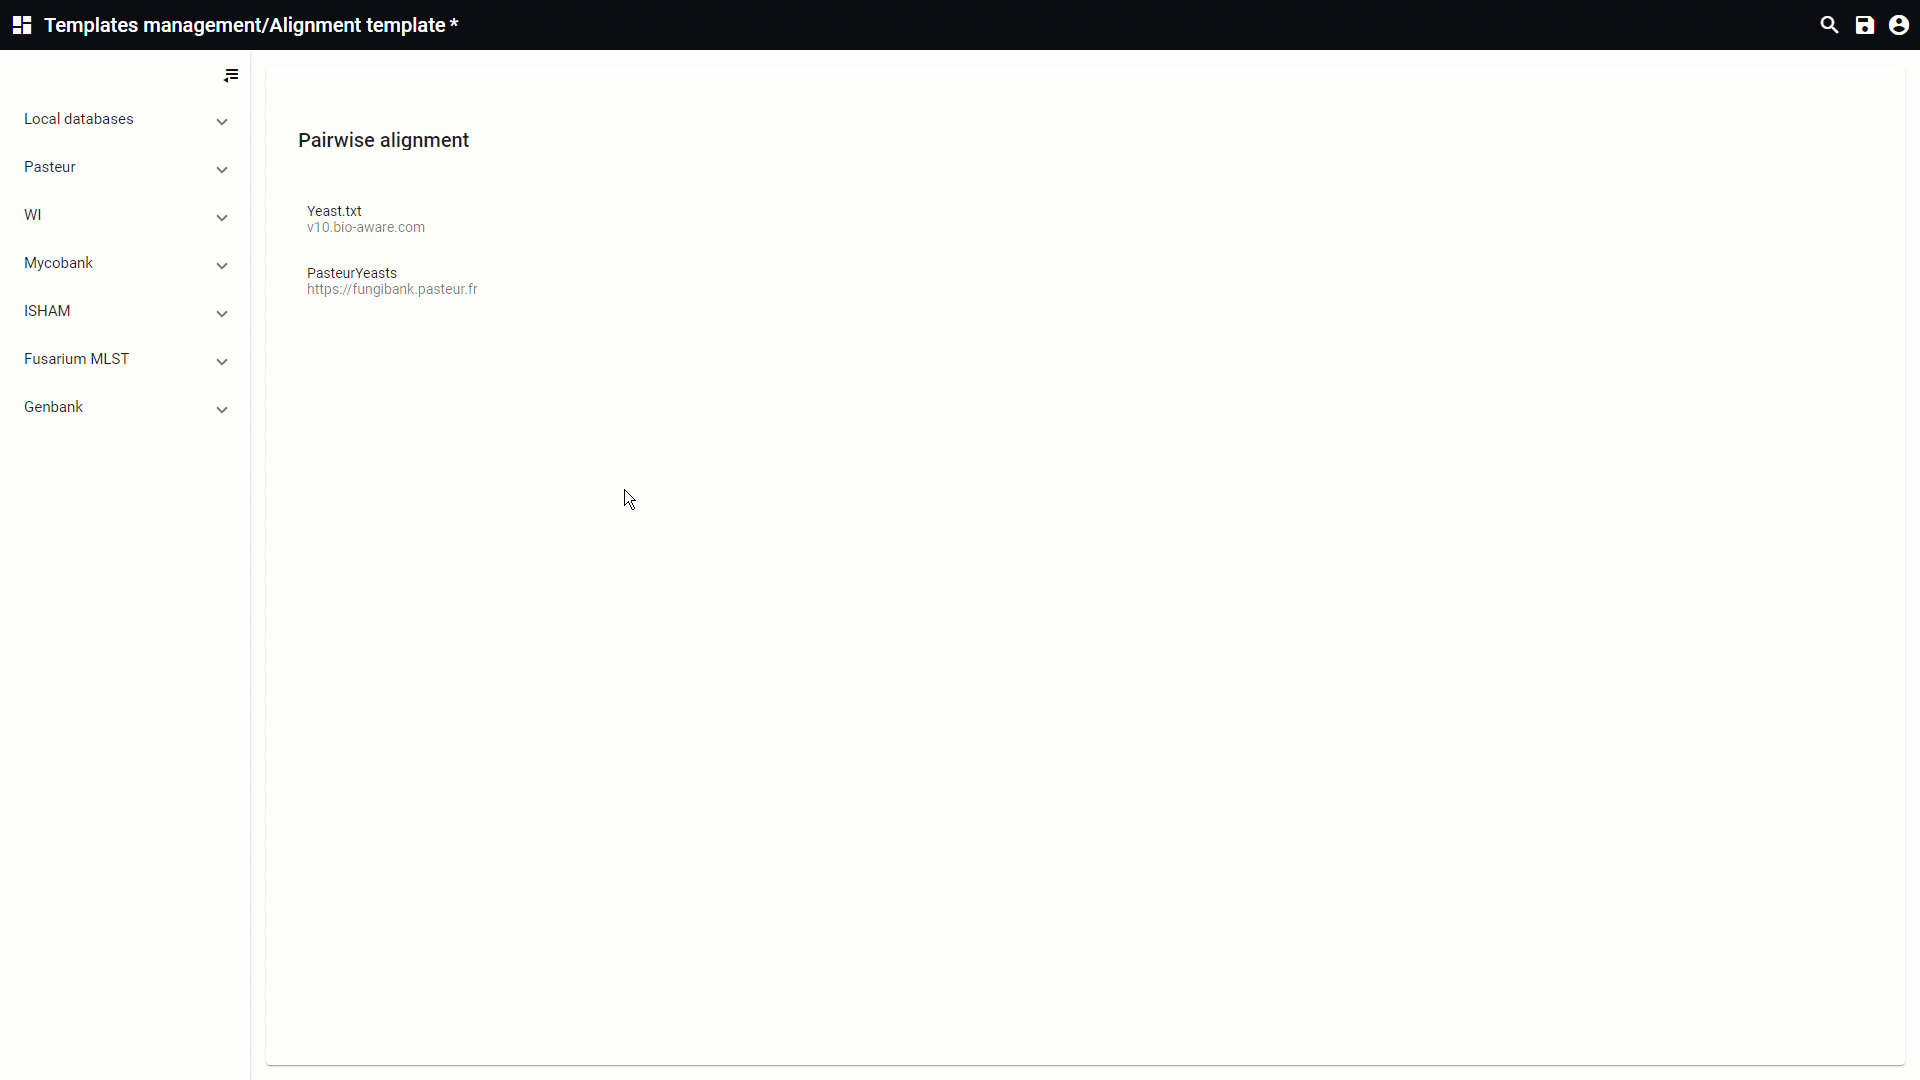
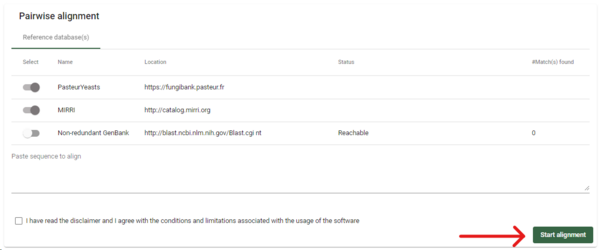
The alignment is the place where the user can perform a pairwise sequence alignment.
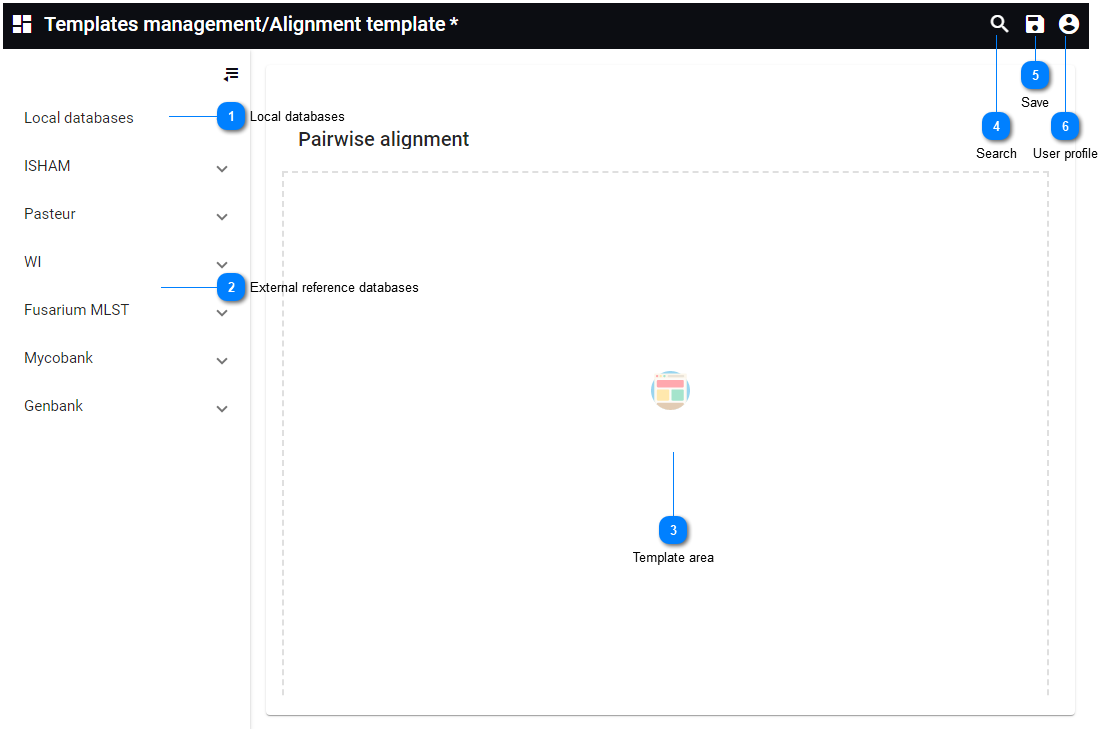
The
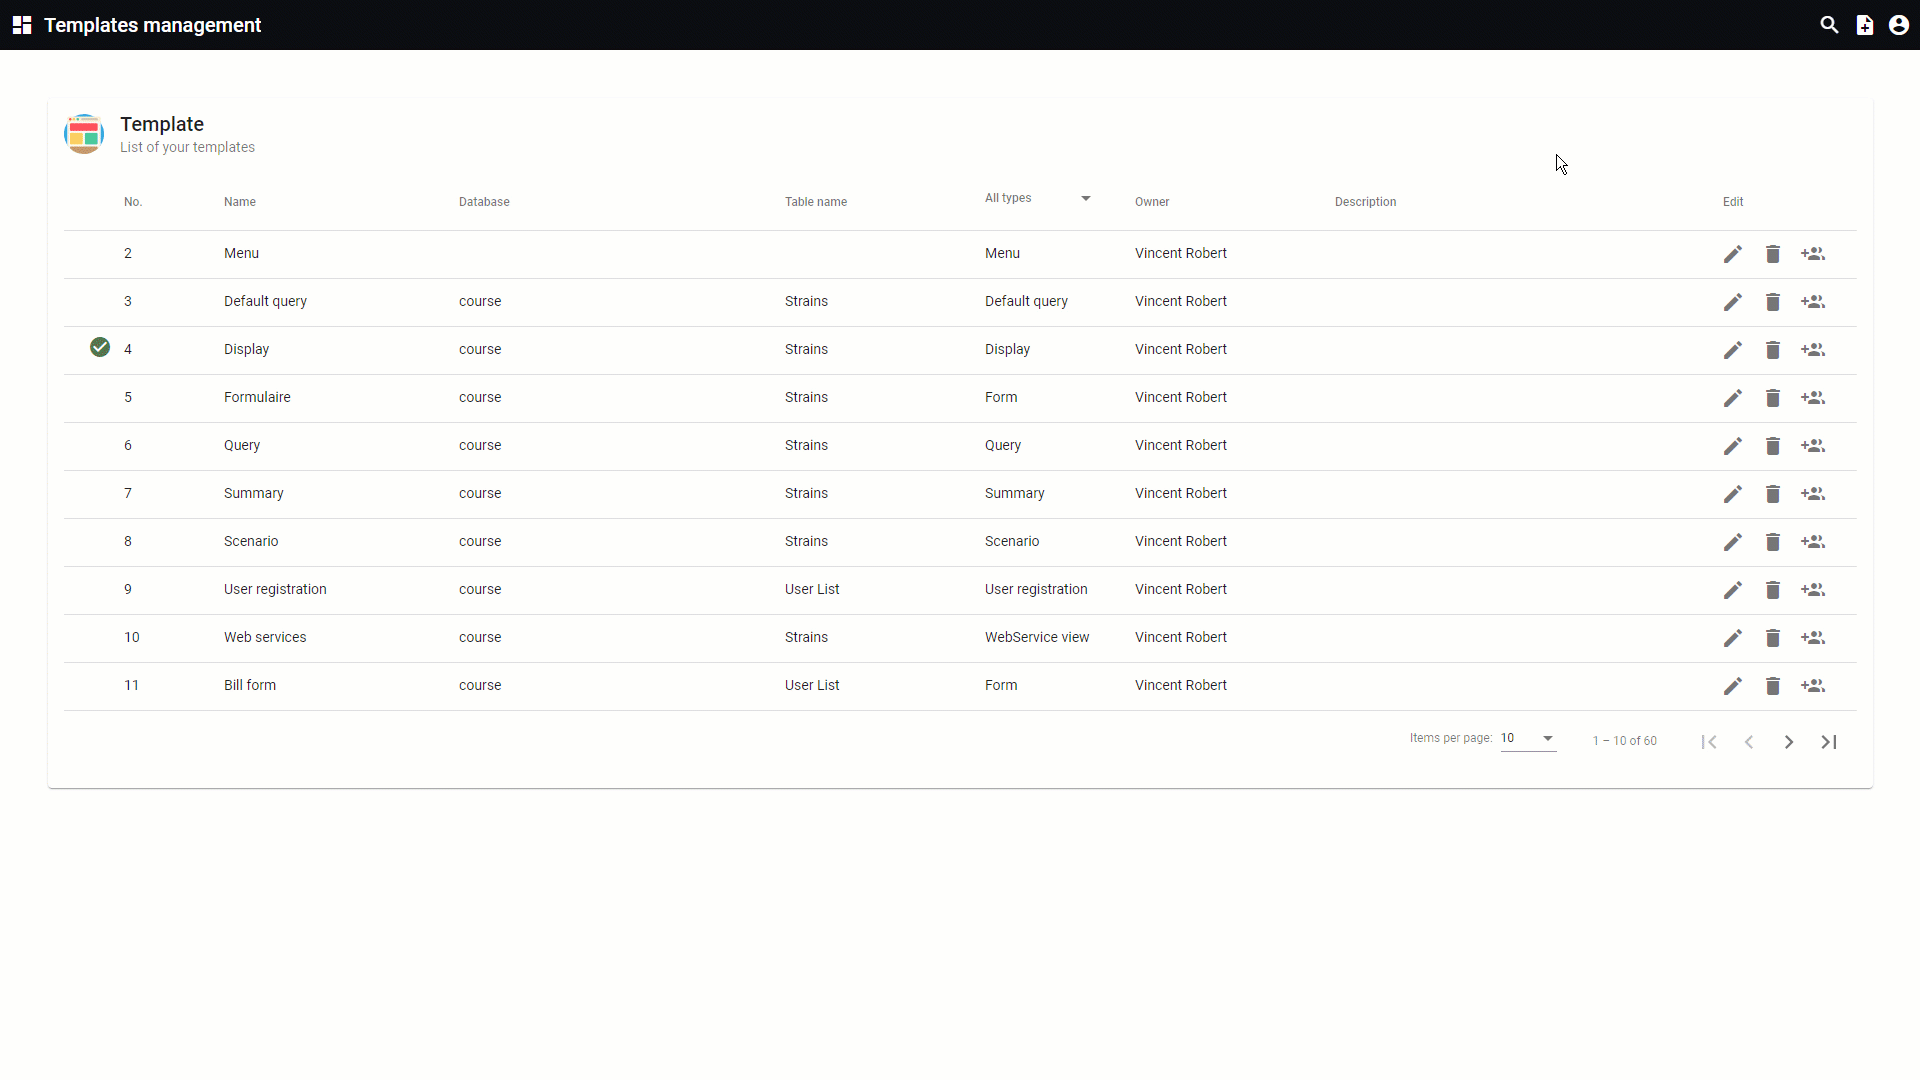
designer section of the templates management will be opened when a new alignment template is created or when one needs to be edited.
Reference databases can be placed in the template. Hover the mouse on top of any of the numbers below to see detailed information.
All information for this page can be found above this line. Simply hover the mouse on top of any of the numbers to see the information. Top
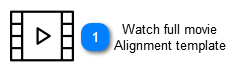
 Watch full movie
Alignment template
This movie shows how to:
1. Create a new alignment template (0:05)
2. Drag the wanted reference database onto the template (0:27)
3. Set the wanted settings in the properties section (0:39)
4. Create a new page and insert the template inside the page (0:57)
5. Set the associated web layout (1:18)
6. Final results (1:24)
|
|
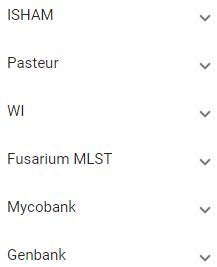
Local databases
All manually exported Fasta sequences files that are stored in the Alignments folder* are listed here.
Sequences that are stored in BioloMICS can be exported in Fasta format.
The exported file can be used as a local reference database in the alignments.
For details on how to create such local reference database, see Export to Fasta format in the desktop version.
It is also possible to add a Fasta file, including the associated files (.nhr, .nin and .nsq), directly in the Alignment folder*.
*The path to the Alignment folder is provided by default at step 6 of the Export to Fasta format.
|
|
 External reference databases
The external reference databases are available by default.
Please contact the BioAware team in case another important reference database should be added.
|
|
 Template area
Area where the reference databases can be dragged to.
|
|
 Search
 for a given reference database. Click on the X icon to display the full list of layouts again.
|
|
 Save
Save all changes made to the current template.
|
|
 User profile
Select from:
-
Go back to site: Will open the actual website.
-
User profile: Place to update the details of the user. The look is managed by the curator of the website and is explain in sub chapter User Registration.
-
Change password: Allows the user to change the password by giving first the current password and then 2 times the new password. 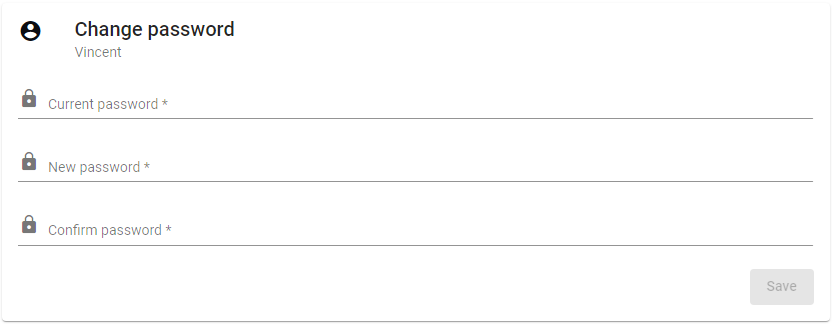
-
Help: The BioloMICS manual will be opened.
-
About: Information about the application, web service and database version.
-
Logout: Log out from the website. The login screen will appear after logging out.
|
|
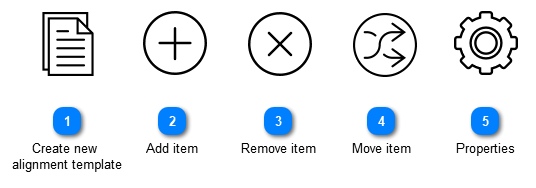
Create new
alignment template
To create a new alignment template, go to the template management and click on Add new template.
Provide the requested information:
-
Select Alignment as the template type. -
Enter a name for the new template. -
Add a description for this template (optional).
|
|
Add item
To add a reference to the alignments template, take it from the left and drag it to the template area.
|
|
Remove item
To remove a reference from the alignments template, hover the mouse on top of it and click on the bin icon.
|
|
Move item
To move a reference up or down, hover the mouse on top of it an click on the icons up or down.
|
|
Properties
Click on a reference in the template area to see the properties panel on the right.
|
|