User's registration wizard
-
To open the user's properties form, click on File to go to the backstage section, select Database, click Edit users of the current database and click Add.
-
The User's registration data wizard opens:
-
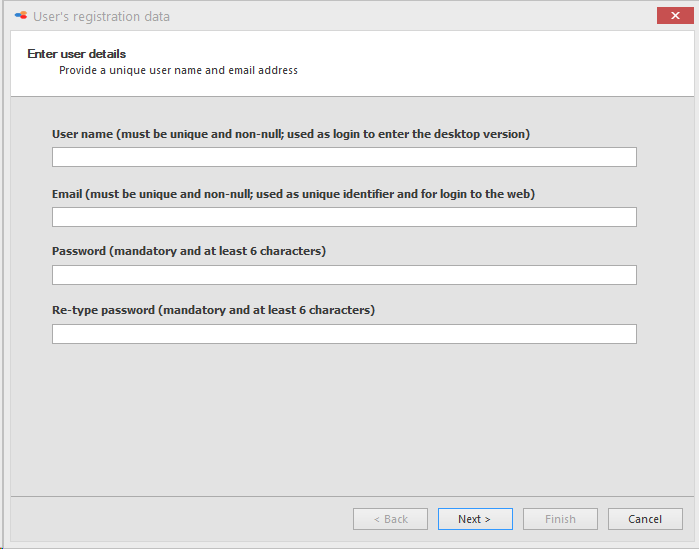
Enter the user details.
-
User name: Unique name, used to login into the desktop version of BioloMICS.
-
Email: Unique email address, used to login into the web version of BioloMICS.
-
Password: Password must contain at least one upper case, one lower case, one special character, one number, and minimum of 8 characters.
-
Re-type password: Confirm the password by re-typing it.
-
Force user to reset password at first login If checked, this user will need to reset the password the next time logging in.
Note that user will not be able to reuse previously used passwords (any). -
In the User settings, More, Reset password recurrence, the Super administrator can activate the regular update of passwords for all users of the database in one go.
Click Next to go to the next step. -
Check the user rights.
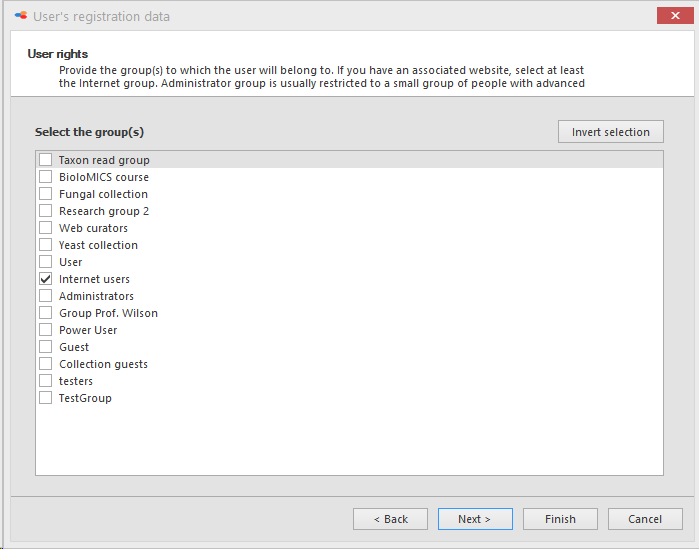
Click Next to go to the next step, or click Finish to complete the wizard directly.
-
Set the activation and revocation dates.
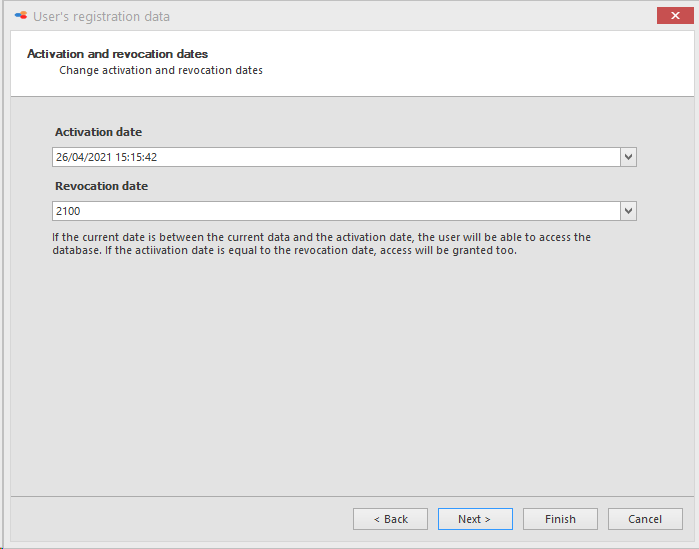
Click Next to go to the next step.
-
Provide the address related information (optional).
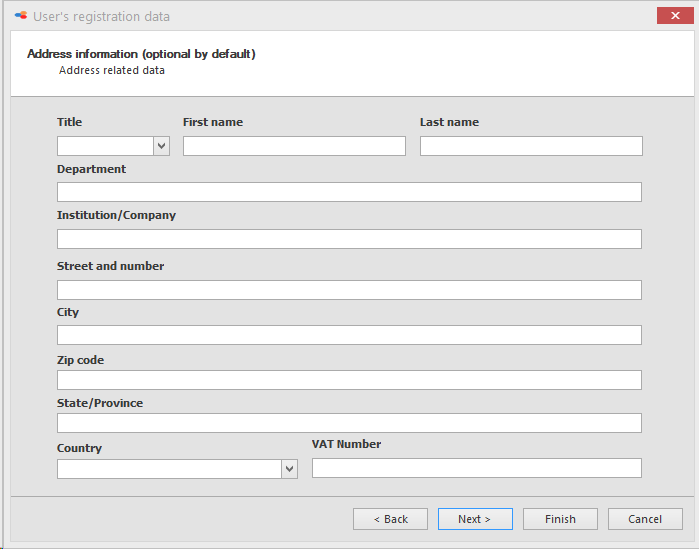
Click Next to go to the next step.
-
Provide the contact details and remarks (optional).

Click Next to go to the next step.
-
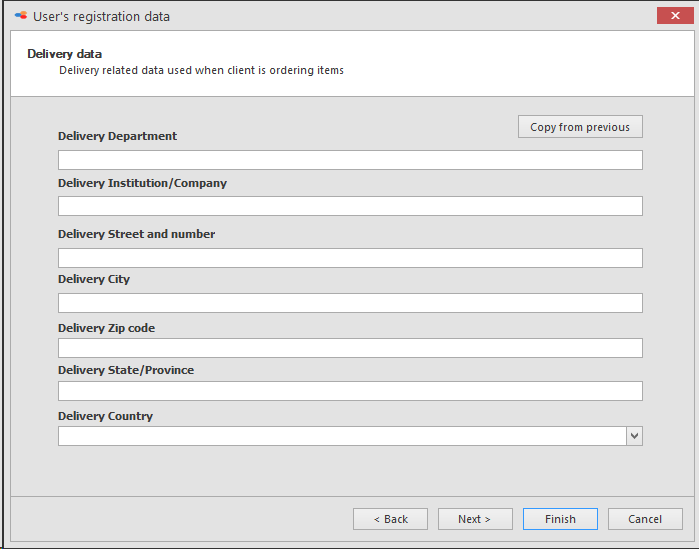
Provide the delivery related information (optional).
-
Click Copy from previous when the delivery information is the same as the address related information.
Click Next to go to the next step and to complete the wizard. -
The administrator of the database should now place the user in a certain group. This means that the user will only be able to access the wanted database when the administrator of the database has granted access to the new user.Note that only the super-administrator is able to grant administrator rights to a (new) user.
This movie shows how to create a new user in BioloMICS by using the wizard.
1. Backstage - Edit users (0:10)
2. Add new user (0:17)
3. Enter information in wizard:
- User details (0:19)
- User rights (0:39)
- Activation/Revocation dates (0:45)
- Address information (1:02)
- Contact and remarks (1:34)
- Delivery information (1:40)
4. Save changes (1:48)

