|
|
|
Field properties in form action
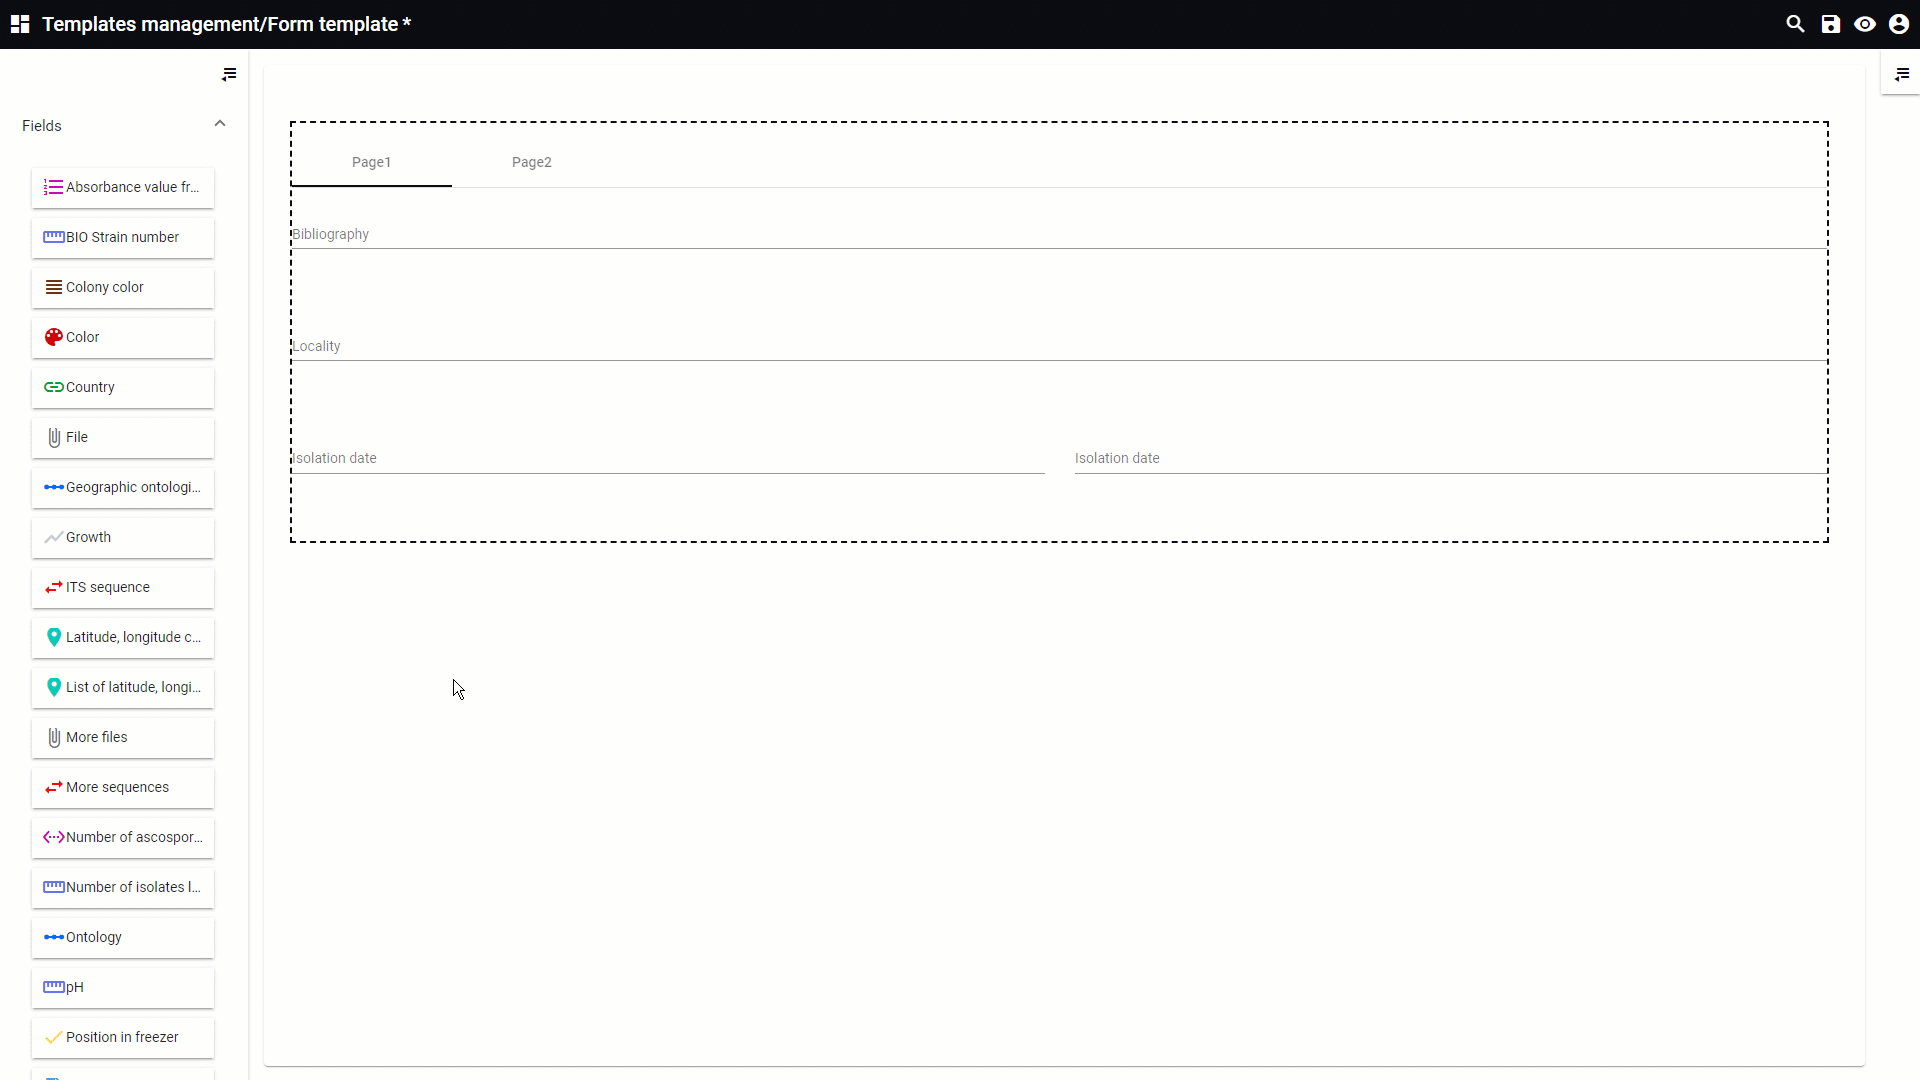
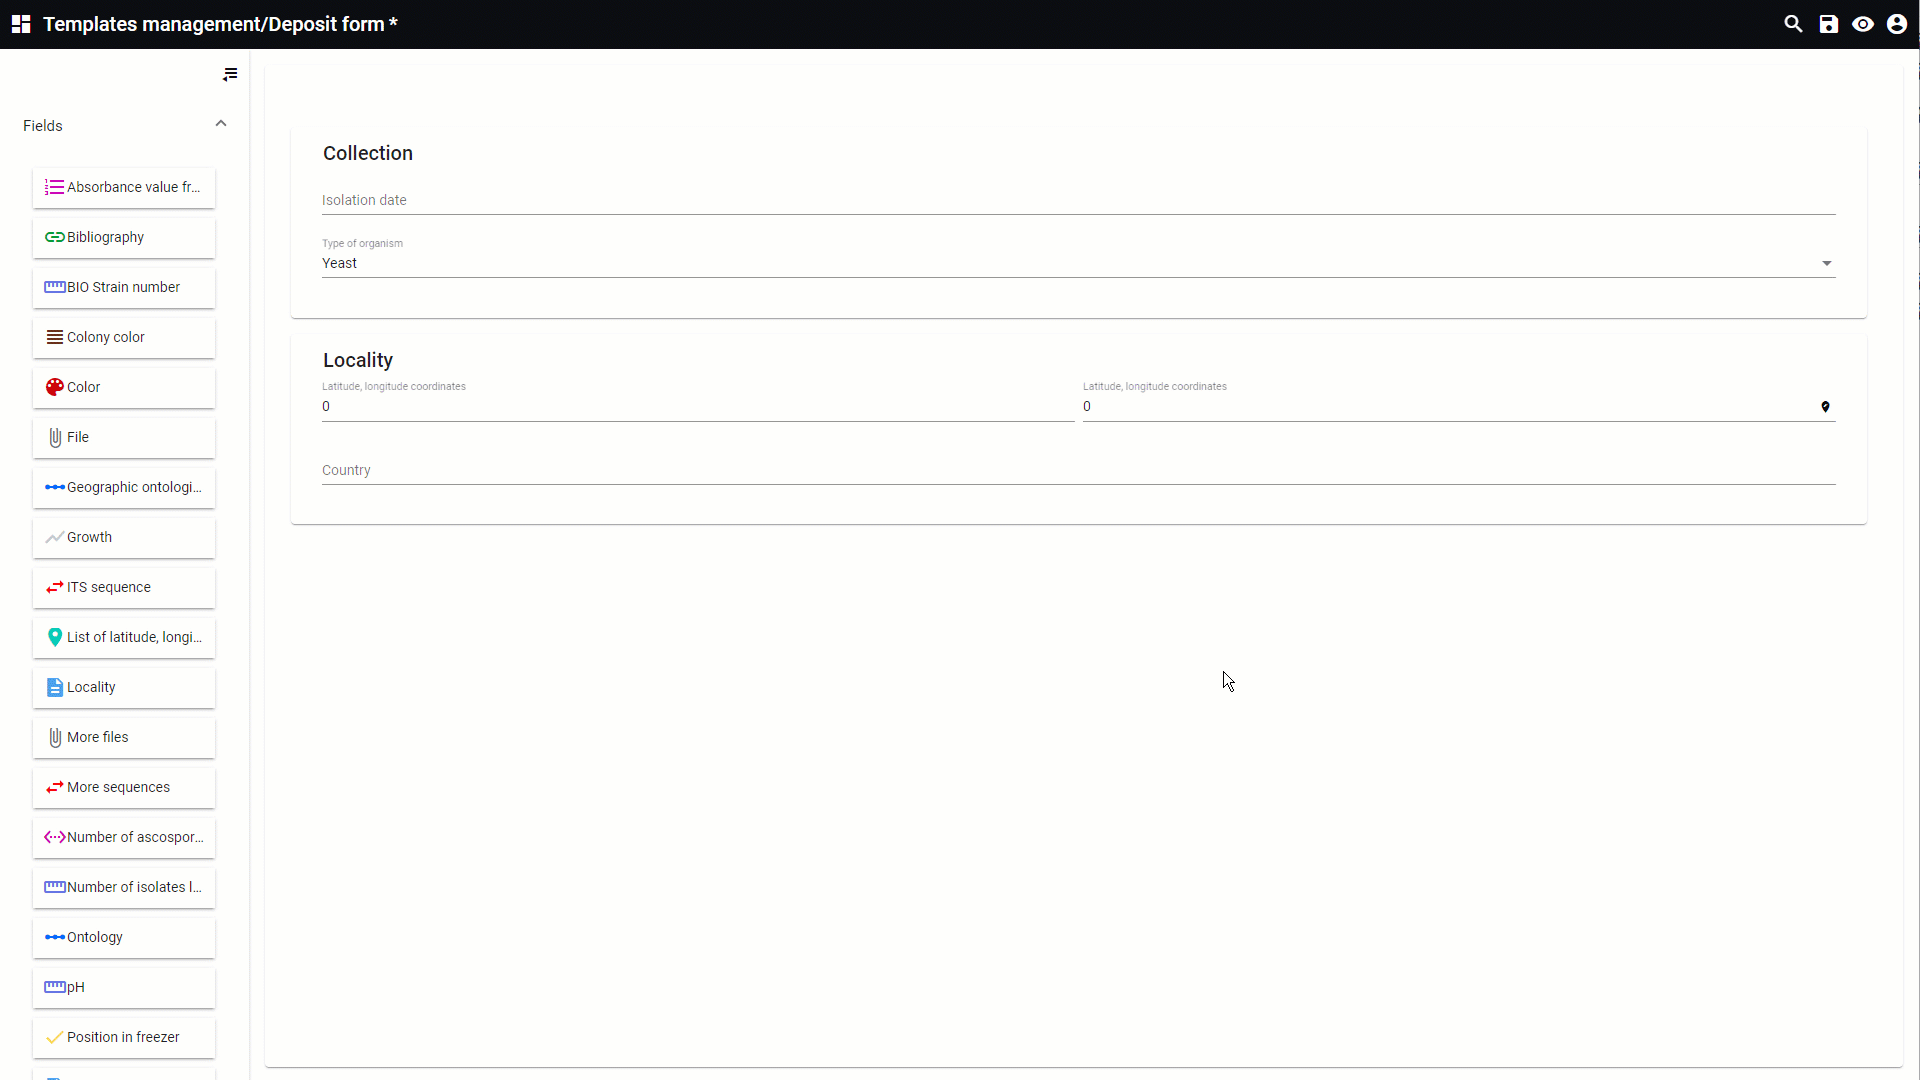
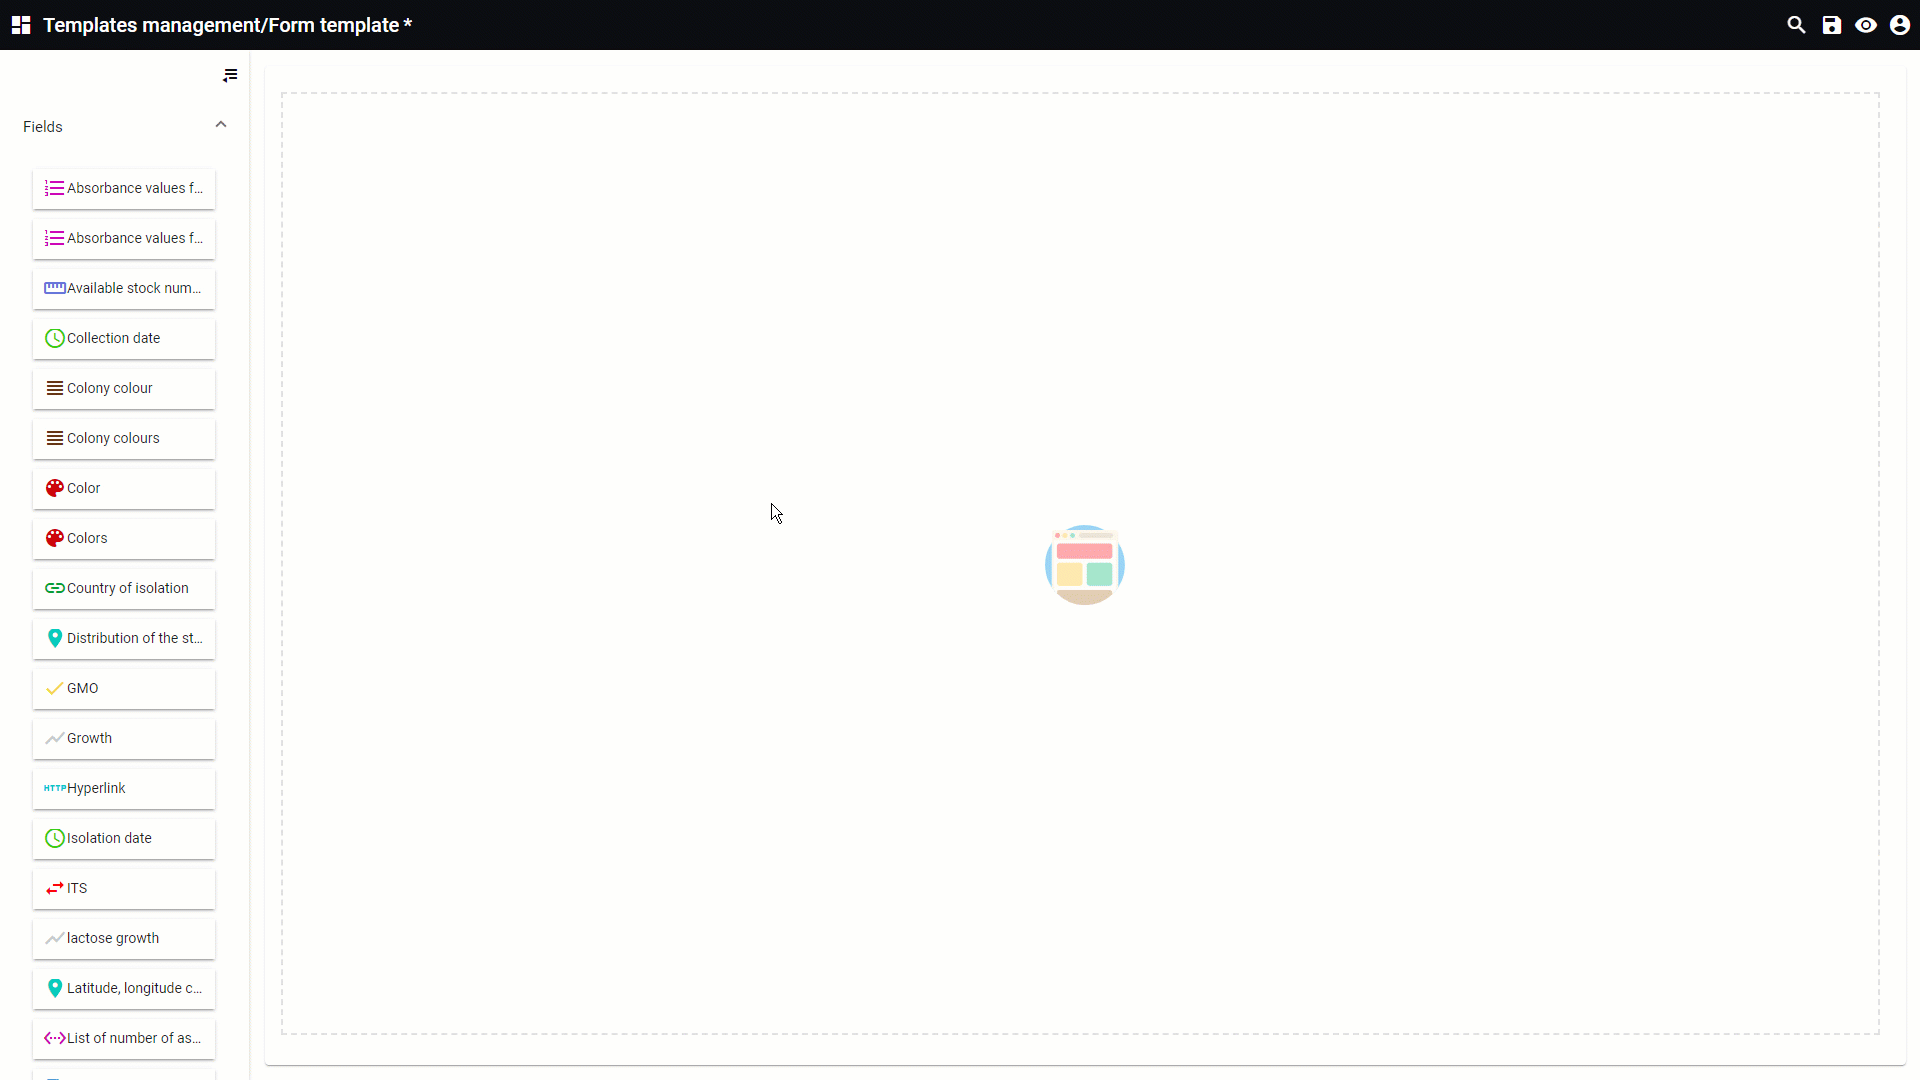
In the form of the template management, fields in the selected table can be added.
-
Take one field from the left and drag it to the template area ( add item). -
Click on the field in the template area to see the properties on the right.
The general properties of the field types differ but can be grouped based on the function of the field.
Hover the mouse on top of the number or click on it to see the details for the given group of fields.
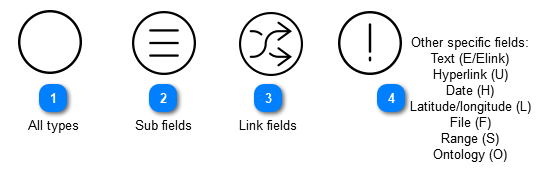
 All types
Applicable to the following types: A, Alink, C, Clink, D, Dlink, E, Elink, F, Flink, H, Hlink, I, Ilink, K, Klink, L Link, M, Mlink, N, Nlink, O, Olink, R, S, Slink, Syn, SynLink, T, Tlink, U, V, Vlink, W, Wlink, Y and Record name.
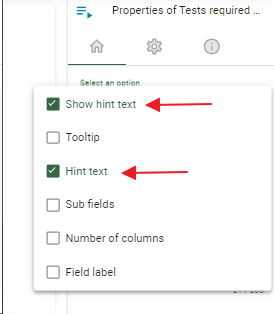
And check the check box 'Show hint text', and enter the text to be displayed.

-
Show tool tip: If checked, enter the text to be displayed in the tooltip when hovering the mouse over the field.
*Make sure it is checked in the 'Select an option' property (see above).
-
Show hint text: If checked, enter the text to be displayed in the section below the field.
*Make sure it is checked in the 'Select an option' property (see above).
-
Mandatory: Check if the user has to enter a value before completing the form. Enter the text to be displayed.
*Make sure it is checked in the 'Select an option' property (see above).
-
Note that for fields with subfields (A, C and M) the mandatory option is set for each individual subfield. -
Field label: Enter the title of the field.
*Make sure it is checked in the 'Select an option' property (see above).
-
Enabled: If unchecked, the field value will be visible in the form but cannot be changed (the default value of the field will be saved automatically).
*Make sure it is checked in the 'Select an option' property (see above).
-
Visible: If unchecked, the field will not be visible in the form but the default value of the field will be saved automatically.
*Make sure it is checked in the 'Select an option' property (see above).
-
Overwrite value: Choose wether to change the value or not on the target field.
-
For fields where the user has to enter a value, a placeholder can be added to instruct the end user. *Make sure it is checked in the 'Select an option' property (see above).
| |
 Sub fields
Applicable to the following types: A, Alink, C, Clink, M, Mlink.
-
Subfields: Enter the name of the subfield and check the box if it should be displayed.
*Make sure it is checked in the 'Select an option' property (see All-types section).
-
Number of columns: Select the number of columns for the display of the values of the selected field (1, 2, 3, 4 or 6).
*Make sure it is checked in the 'Select an option' property (see All-types section).
Only for M field:
-
Low percentile: Value between 0 and 50. This value is used for statistics.
*Make sure it is checked in the 'Select an option' property (see All-types section).
-
High percentile: Value between 50 and 100. This value is used for statistics.
*Make sure it is checked in the 'Select an option' property (see All-types section).
| |
 Link fields
Applicable to the following types: Alink, Clink, Dlink, Elink, Flink, Hlink, Ilink, Klink, Llink, Mlink, Nlink, Olink, R, Slink, SynLink, Tlink, Vlink, Wlink.
-
Target deposit form: Select the template to be used to show the details of the linked records.
*Make sure it is checked in the 'Select an option' property (see All-types section).
-
Maximum linked records: Decide how many linked records are displayed at most. Keep empty to allow all links to be displayed.
*Make sure it is checked in the 'Select an option' property (see All-types section).
-
Can add existing: If checked, the users will be able to add existing target records.
*Make sure it is checked in the 'Select an option' property (see All-types section).
-
Can add new: If checked, the users will be able to create a new target record (record in the linked table) by clicking on the + icon.
*Make sure it is checked in the 'Select an option' property (see All-types section). 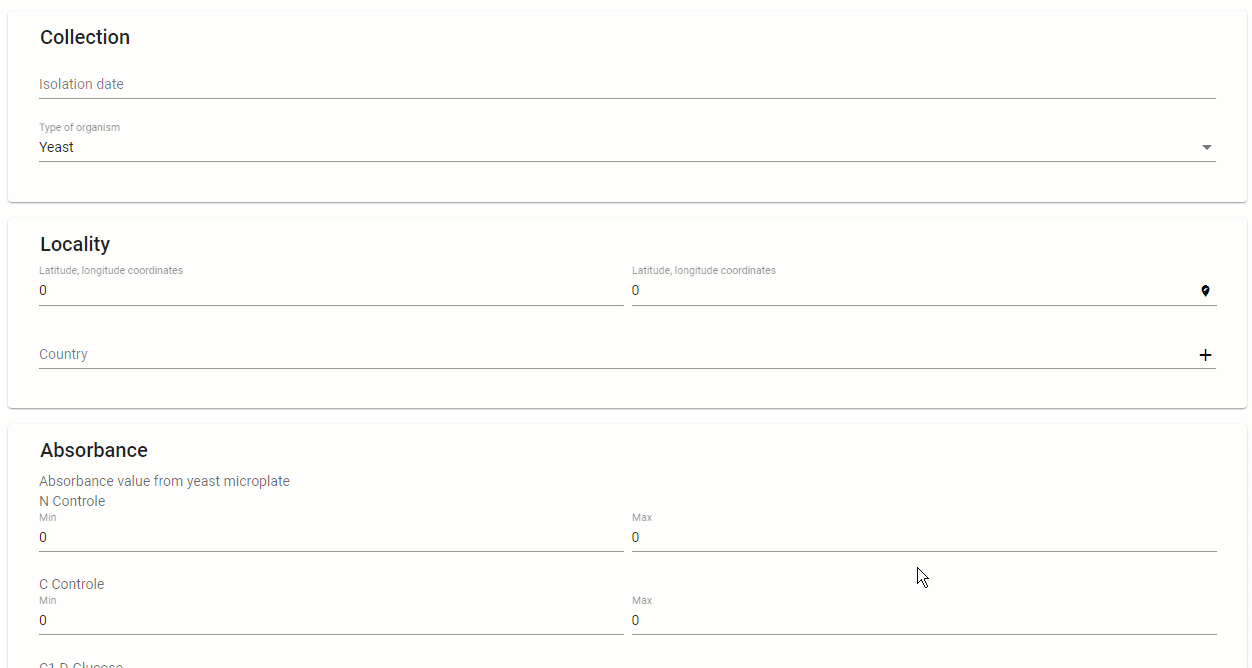 -
Target form opened: If checked, the form used to add the target record is opened by default.
-
Auto submit form: If checked, the add/cancel buttons will be hidden and a new target record will be added to the link field. 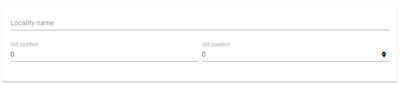 Checked  Unchecked
-
Display record details: Display selected record (select the target display template to be used). The user will enter and select an existing record, for example Belgium. Click on the link to see the details. 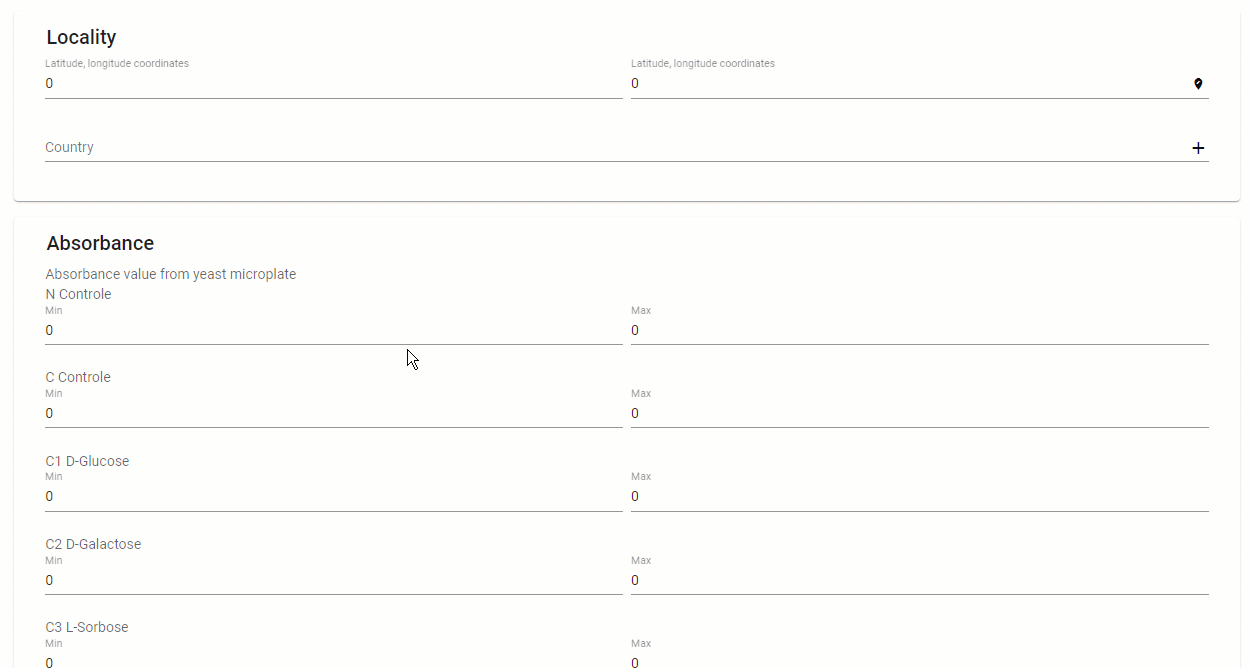
-
Can remove link: If checked, the users will be able to remove the selected target record.
*Make sure it is checked in the 'Select an option' property (see All-types section). 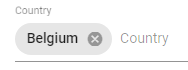
-
Can edit link: If checked, the users will be able to edit the target record. The selected target deposit form is used (see above, first option explained in the links section).
*Make sure it is checked in the 'Select an option' property (see All-types section). 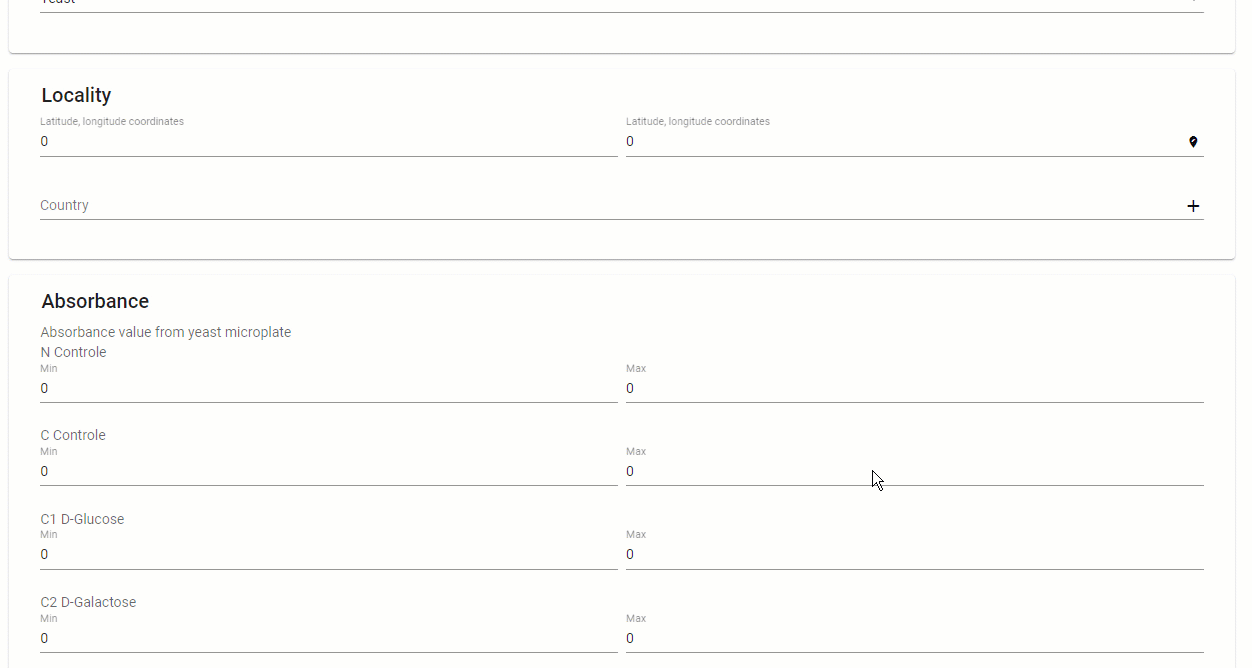 -
Allow duplicate: If checked, the users are able to duplicate records.
*Make sure it is checked in the 'Select an option' property (see All-types section).
Auto complete
-
Filter template: The query template used as a filter for the auto-completion.
*Make sure it is checked in the 'Select an option' property (see All-types section).
-
Search term minimum length: The minimum number of characters to type to trigger the auto-completion search (1, 2 or 3).
*Make sure it is checked in the 'Select an option' property (see All-types section). 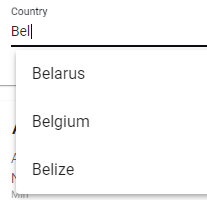 -
Search operation: The operation type used for the auto completion search: Start with or Contains.
*Make sure it is checked in the 'Select an option' property (see All-types section).
-
Field used for result: The field used to display the auto completion search results.
*Make sure it is checked in the 'Select an option' property (see All-types section).
-
Load owner record: If checked then the user can see his/her own record(s) even though the rights are not set to show it.
*Make sure it is checked in the 'Select an option' property (see All-types section).
Only for Alink, Clink and Mlink:
-
Show empty subfields: If checked, all the subfields that have an empty value will be shown for a given record.
*Make sure it is checked in the 'Select an option' property (see All-types section).
| |
 Other specific fields:
Text (E/Elink)
Hyperlink (U)
Date (H)
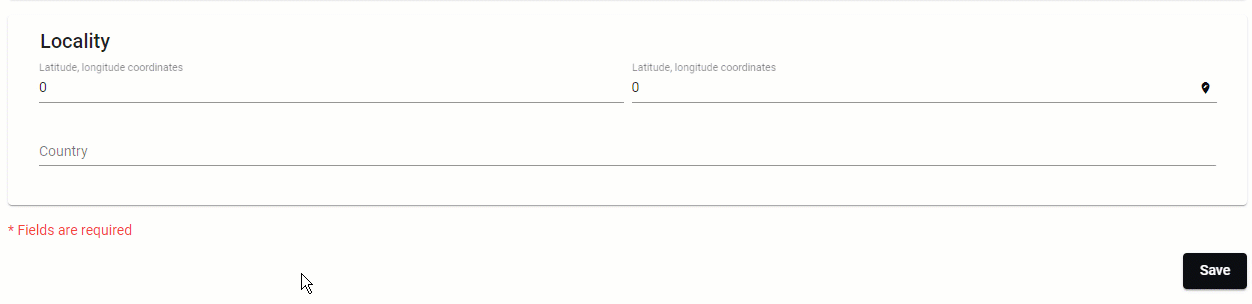
Latitude/longitude (L)
File (F)
Range (S)
Ontology (O)
Applicable to the following types: E/Elink, H, L, F and N.
-
-
Target field content type: Select the type of E field value, choose from Email, Password, VAT number, Country, Text area or Free text.
*Make sure it is checked in the 'Select an option' property (see All-types section). When Email is selected then the value will only be valid when the email format is respected. 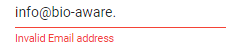 -
-
Maximum number of hyperlinks: Insert the maximum number of hyperlinks the users can enter.
*Make sure it is checked in the 'Select an option' property (see All-types section).
-
-
Include time: decide whether the time should be included or not.
*Make sure it is checked in the 'Select an option' property (see All-types section).  Checked  Unchecked -
L field (latitude, longitude): -
Show altitude: If checked, the altitude will be displayed.
*Make sure it is checked in the 'Select an option' property (see All-types section).
-
Show precision: If checked, the precision will be displayed.
*Make sure it is checked in the 'Select an option' property (see All-types section).
-
Allow switching to rad: By default, it is set as degree presenation but it can be modified to redius presentation.
*Make sure it is checked in the 'Select an option' property (see All-types section).
-
To show the specified label for each of the L field items by adding in the Placeholder: {label}
-
-
Maximum file size in megabytes: Define the maximum file size that can be inserted in the file field (max. 30).
*Make sure it is checked in the 'Select an option' property (see All-types section).
-
File types: Select the type of files that are allowed to be inserted inside the website. XLS, XLSX, DOC, DOCX, PPT, PTX, XML, Images (jpeg, jpg, bmp, png), PDF, Other files (*.*)
*Make sure it is checked in the 'Select an option' property (see All-types section).
-
-
Low percentile: Value between 0 and 50. This value is used for statistics.
*Make sure it is checked in the 'Select an option' property (see All-types section).
-
High percentile: Value between 50 and 100. This value is used for statistics.
*Make sure it is checked in the 'Select an option' property (see All-types section).
-
The extra options available for the ontology field are all explained in the section for the link fields.
| |
|
|
|
|