|
|
|
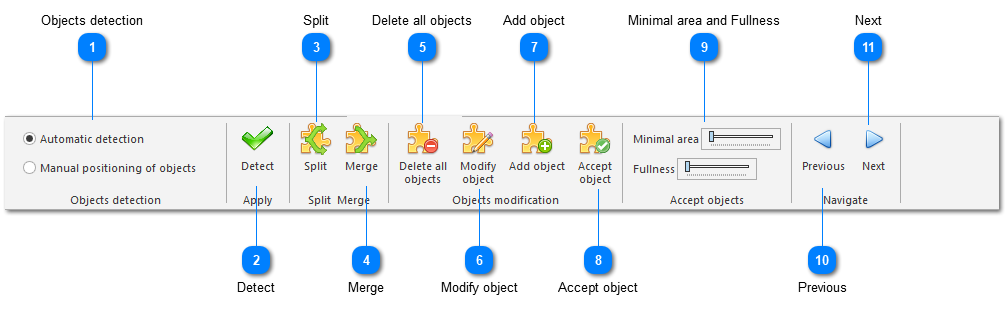
Object detection (step 3)
-
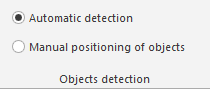
To automatically detect the object on the picture, select Automatic detection (number 1) and click Detect (number 2).
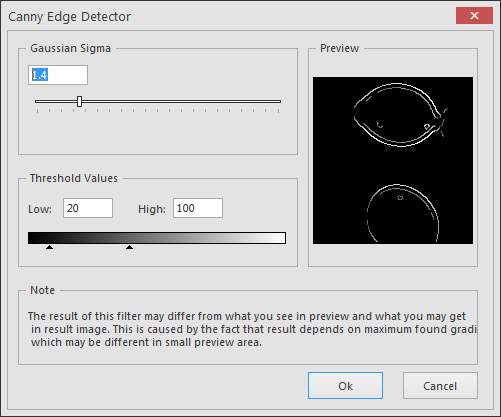
The following popup window will appear and parameters can here be modified to try finding all objects. Click OK to continue.
When finding the object automatically, the system uses a number of algorithms and following a number of parameters, some found objects are considered as complete or “good” and are highlighted in red color. The others remain in yellow color. To force an object to be considered as “good”, click on the object on the picture and click on the Accept object button (number 8).
-
To manually add an object, select Manual positioning of objects (number 1) and click Add object (number 7).
Press the control key, click on the edges of the object to be measured and release the control key when finished.
Click on the Accept object button (number 8) to keep the object.
-
To split an object, select it and click Split.
-
To merge two objects and make a single one, select the Merge button, click on the two object while pressing the Ctrl key and they will be merged.
-
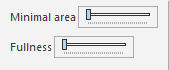
Use the Minimal area and Fullness track bars to change the default levels minimum surface of objects and the maximum distance between the first and the last edge points of an object.
This will increase or decrease the number of accepted objects.
-
To modify an object, select it and click Modify object (number 6).
Press the Shift key and click on the points to be added to the edges of the object.
Click on the Accept object button (number 8) to keep the object. Accepted objects will not be removed, nor affected by a new automatic detection.
-
To suppress an object, select it and press the Delete key.
-
Click Next to go to the next step.
 Objects detectionTwo ways to detect the objects, automatically or manually.
| |
 DetectDetect all objects.
| |
 SplitSplit selected object.
| |
 MergeMerge selected (parts of) objects.
| |
 Delete all objectsDelete all objects.
| |
 Modify objectModify selected object.
| |
 Add objectAdd new object.
| |
 Accept objectAccept the selected object.
| |
 Minimal area and FullnessUse the Minimal area and Fullness track bars to change the default levels minimum surface of objects and the maximum distance between the first and the last edge points of an object. This will increase or decrease the number of accepted objects.
| |
 PreviousGo to the previous step.
| |
 NextGo to the next step.
| |
|
|
|
|


 When finding the object automatically, the system uses a number of algorithms and following a number of parameters, some found objects are considered as complete or “good” and are highlighted in red color. The others remain in yellow color. To force an object to be considered as “good”, click on the object on the picture and click on the Accept object button (number 8).